Cushion Cover - How to/tutorial
As I write this, I am socially distancing from the outside world as we live through the COVID-19 pandemic. It’s definitely a different world - one that is uncertain and unsettling for most people. Whilst I can’t say it isn’t unsettling for me, I am really appreciating the biggest gift of all: time. I lead a very busy life normally and crafting often gets left by the wayside, but now I have the best opportunity to really focus on my little business.
One of the benefits of this, is that I can spend some time writing lovely blog posts and doing wonderful new crafts! A Crafty Den has always been about trying new things, and I am getting back down to my roots, as well as business planning.

Learn how to make a simple cushion cover
I’ve also made it my mission to use up as much fabric as I can (mainly so that I can buy more when all of this is over…) and at the weekend, I decided to make something from the leftover scraps from two of my upholstery projects - my first upholstered chair and my third upholstered chair that was a re-cover. From this material that was sat doing nothing, I’ve made 4 new fancy cushion covers, and this blog post will show you how easy it is to make a cushion cover without a zip/with an open back. This makes cleaning your cushion cover easy.
What you will need:
Tape measure
Fabric scissors
Tailor’s chalk (optional)
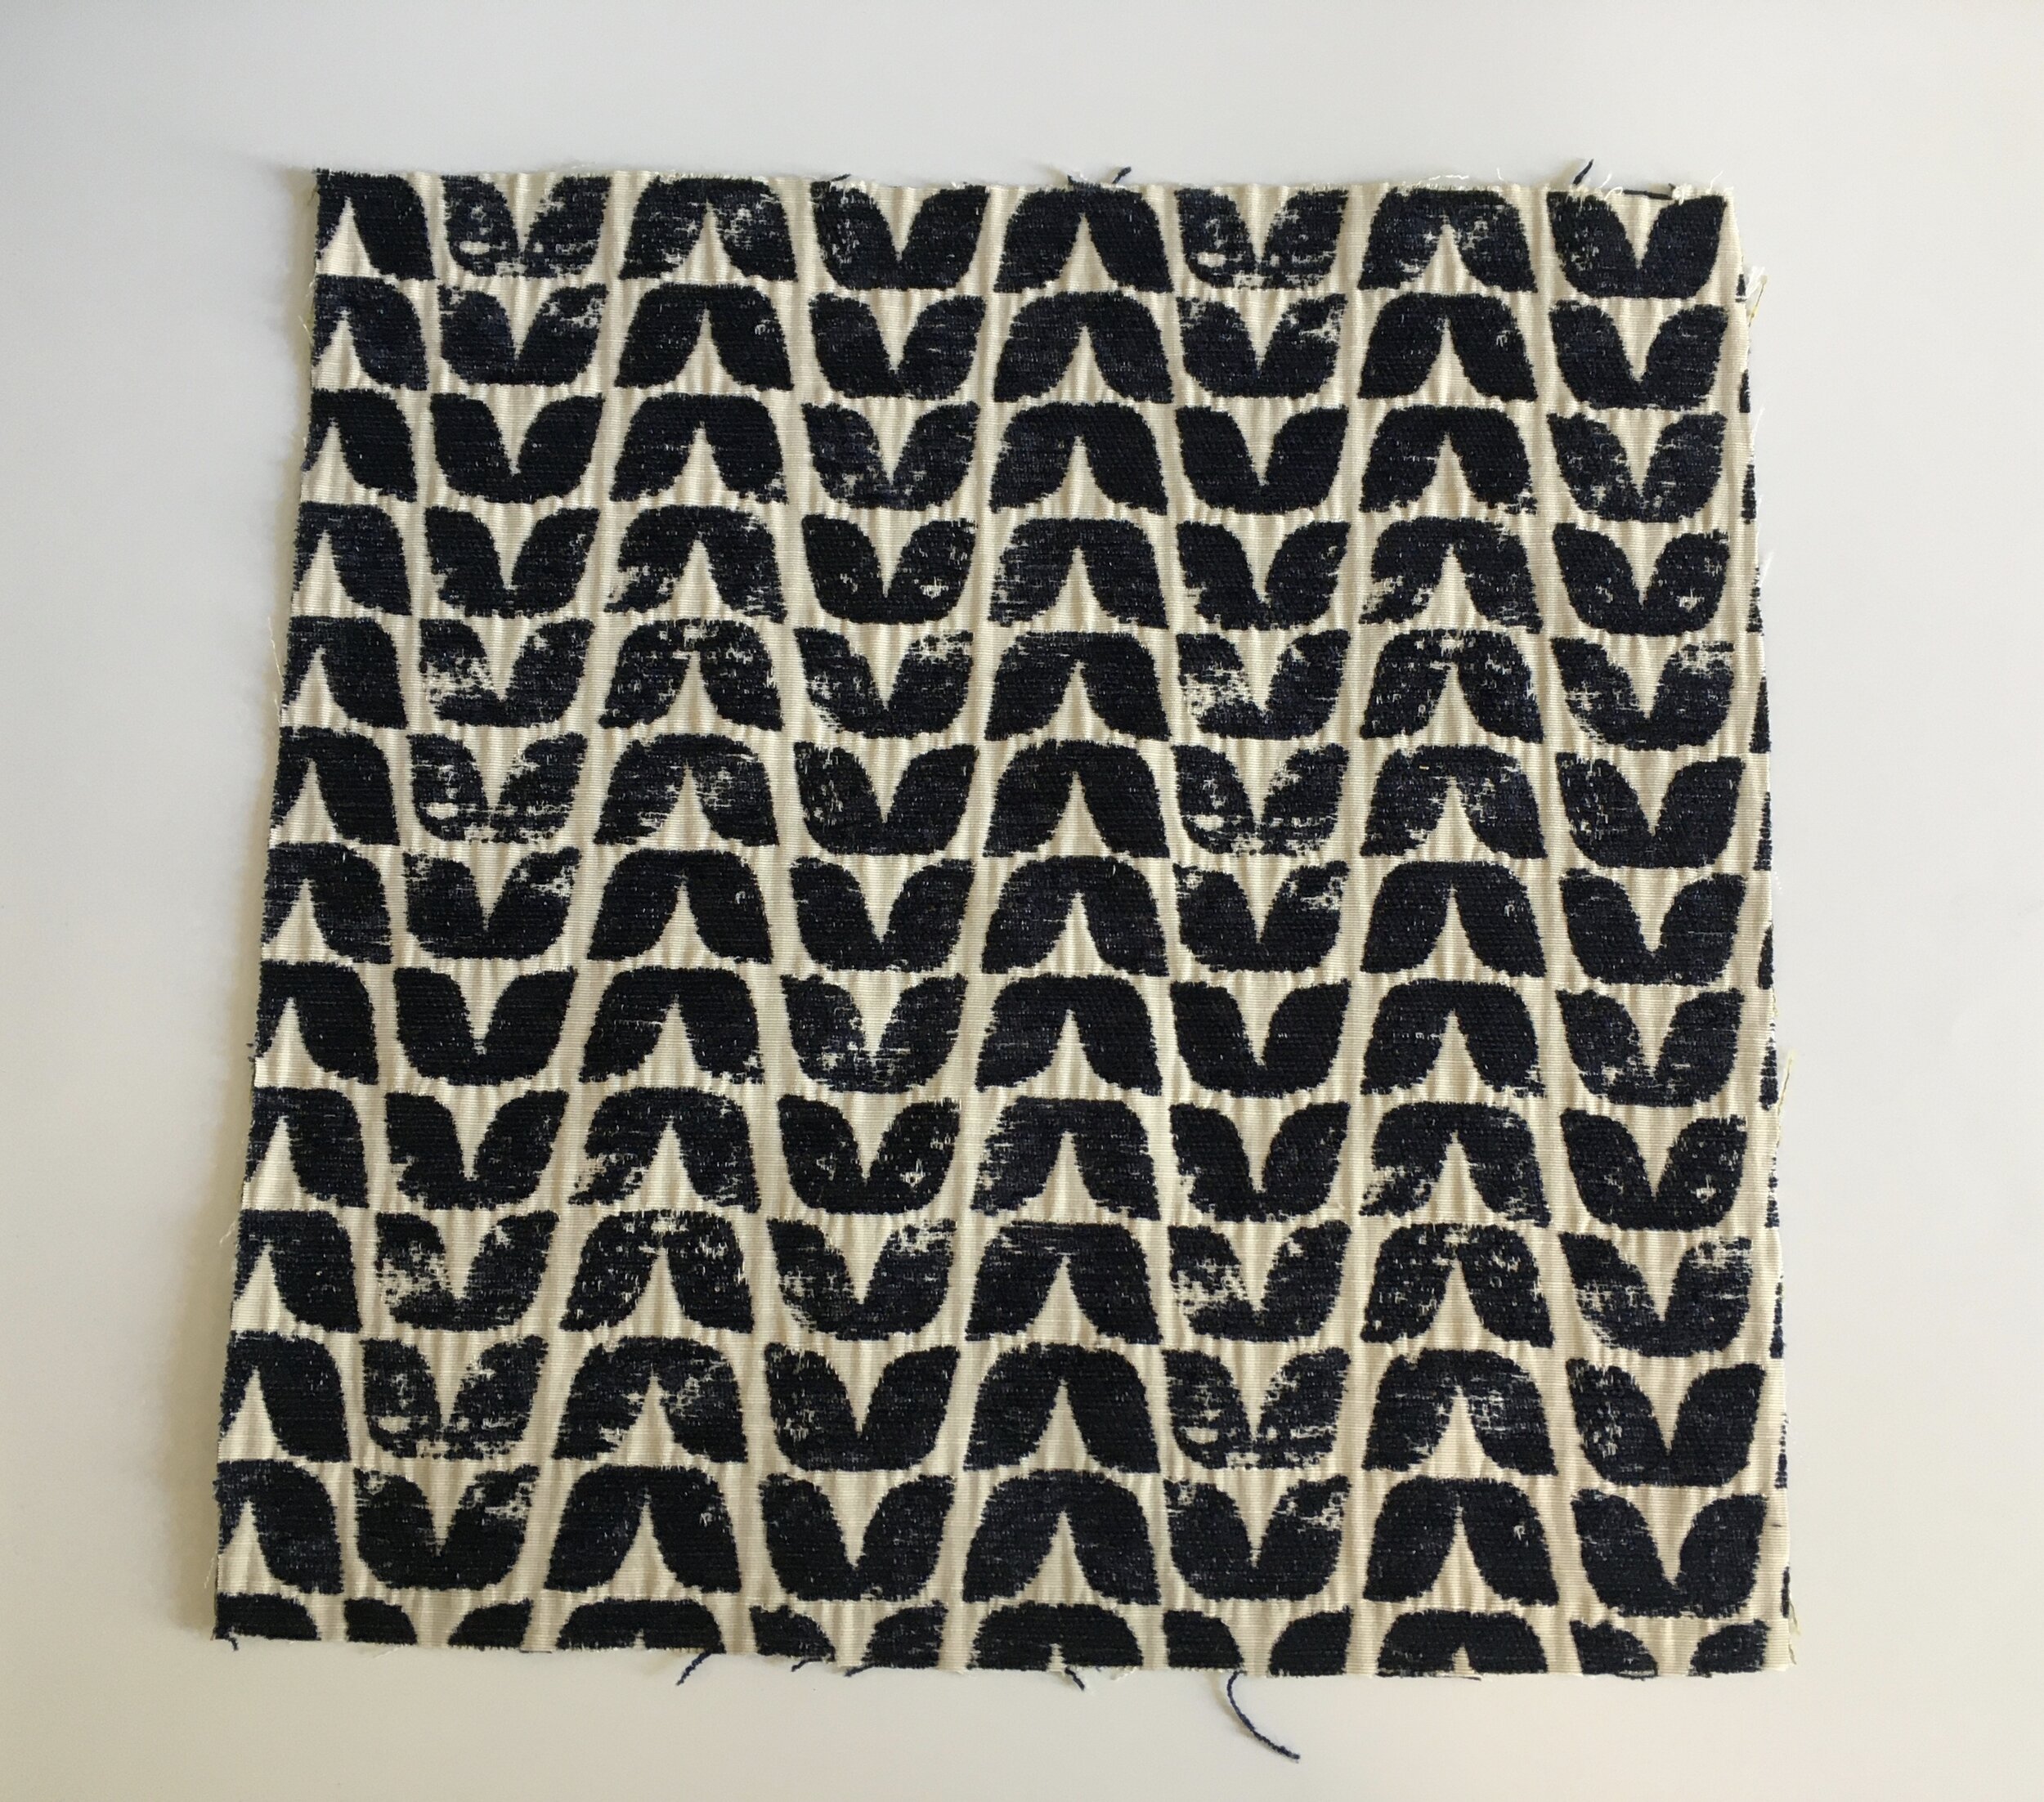
Good quality fabric (I’ve used upholstery quality so it won’t wear)
Sewing machine and thread
Button (optional)
Step 1 - Measuring your fabric
First, decide on the size of cushion that you want to make. I was limited by the leftover fabric that I had, but I chose to make a 12” square cushion. If you already have a cushion inner/filler, I would make the finished size match the size of the inner, so that it has a snug fit.
Measure out your fabric to the size of your cushion inner
Once you’ve decided on your finished cushion size, measure out the front face of your cushion leaving at least a 2cm seam allowance (you can use the tailor’s chalk to mark this out if you prefer). Then, you need to cut the two back pieces; remember, these will overlap, so you want to leave enough.

Cut two back pieces with enough space to overlap
Step 2 - back pieces
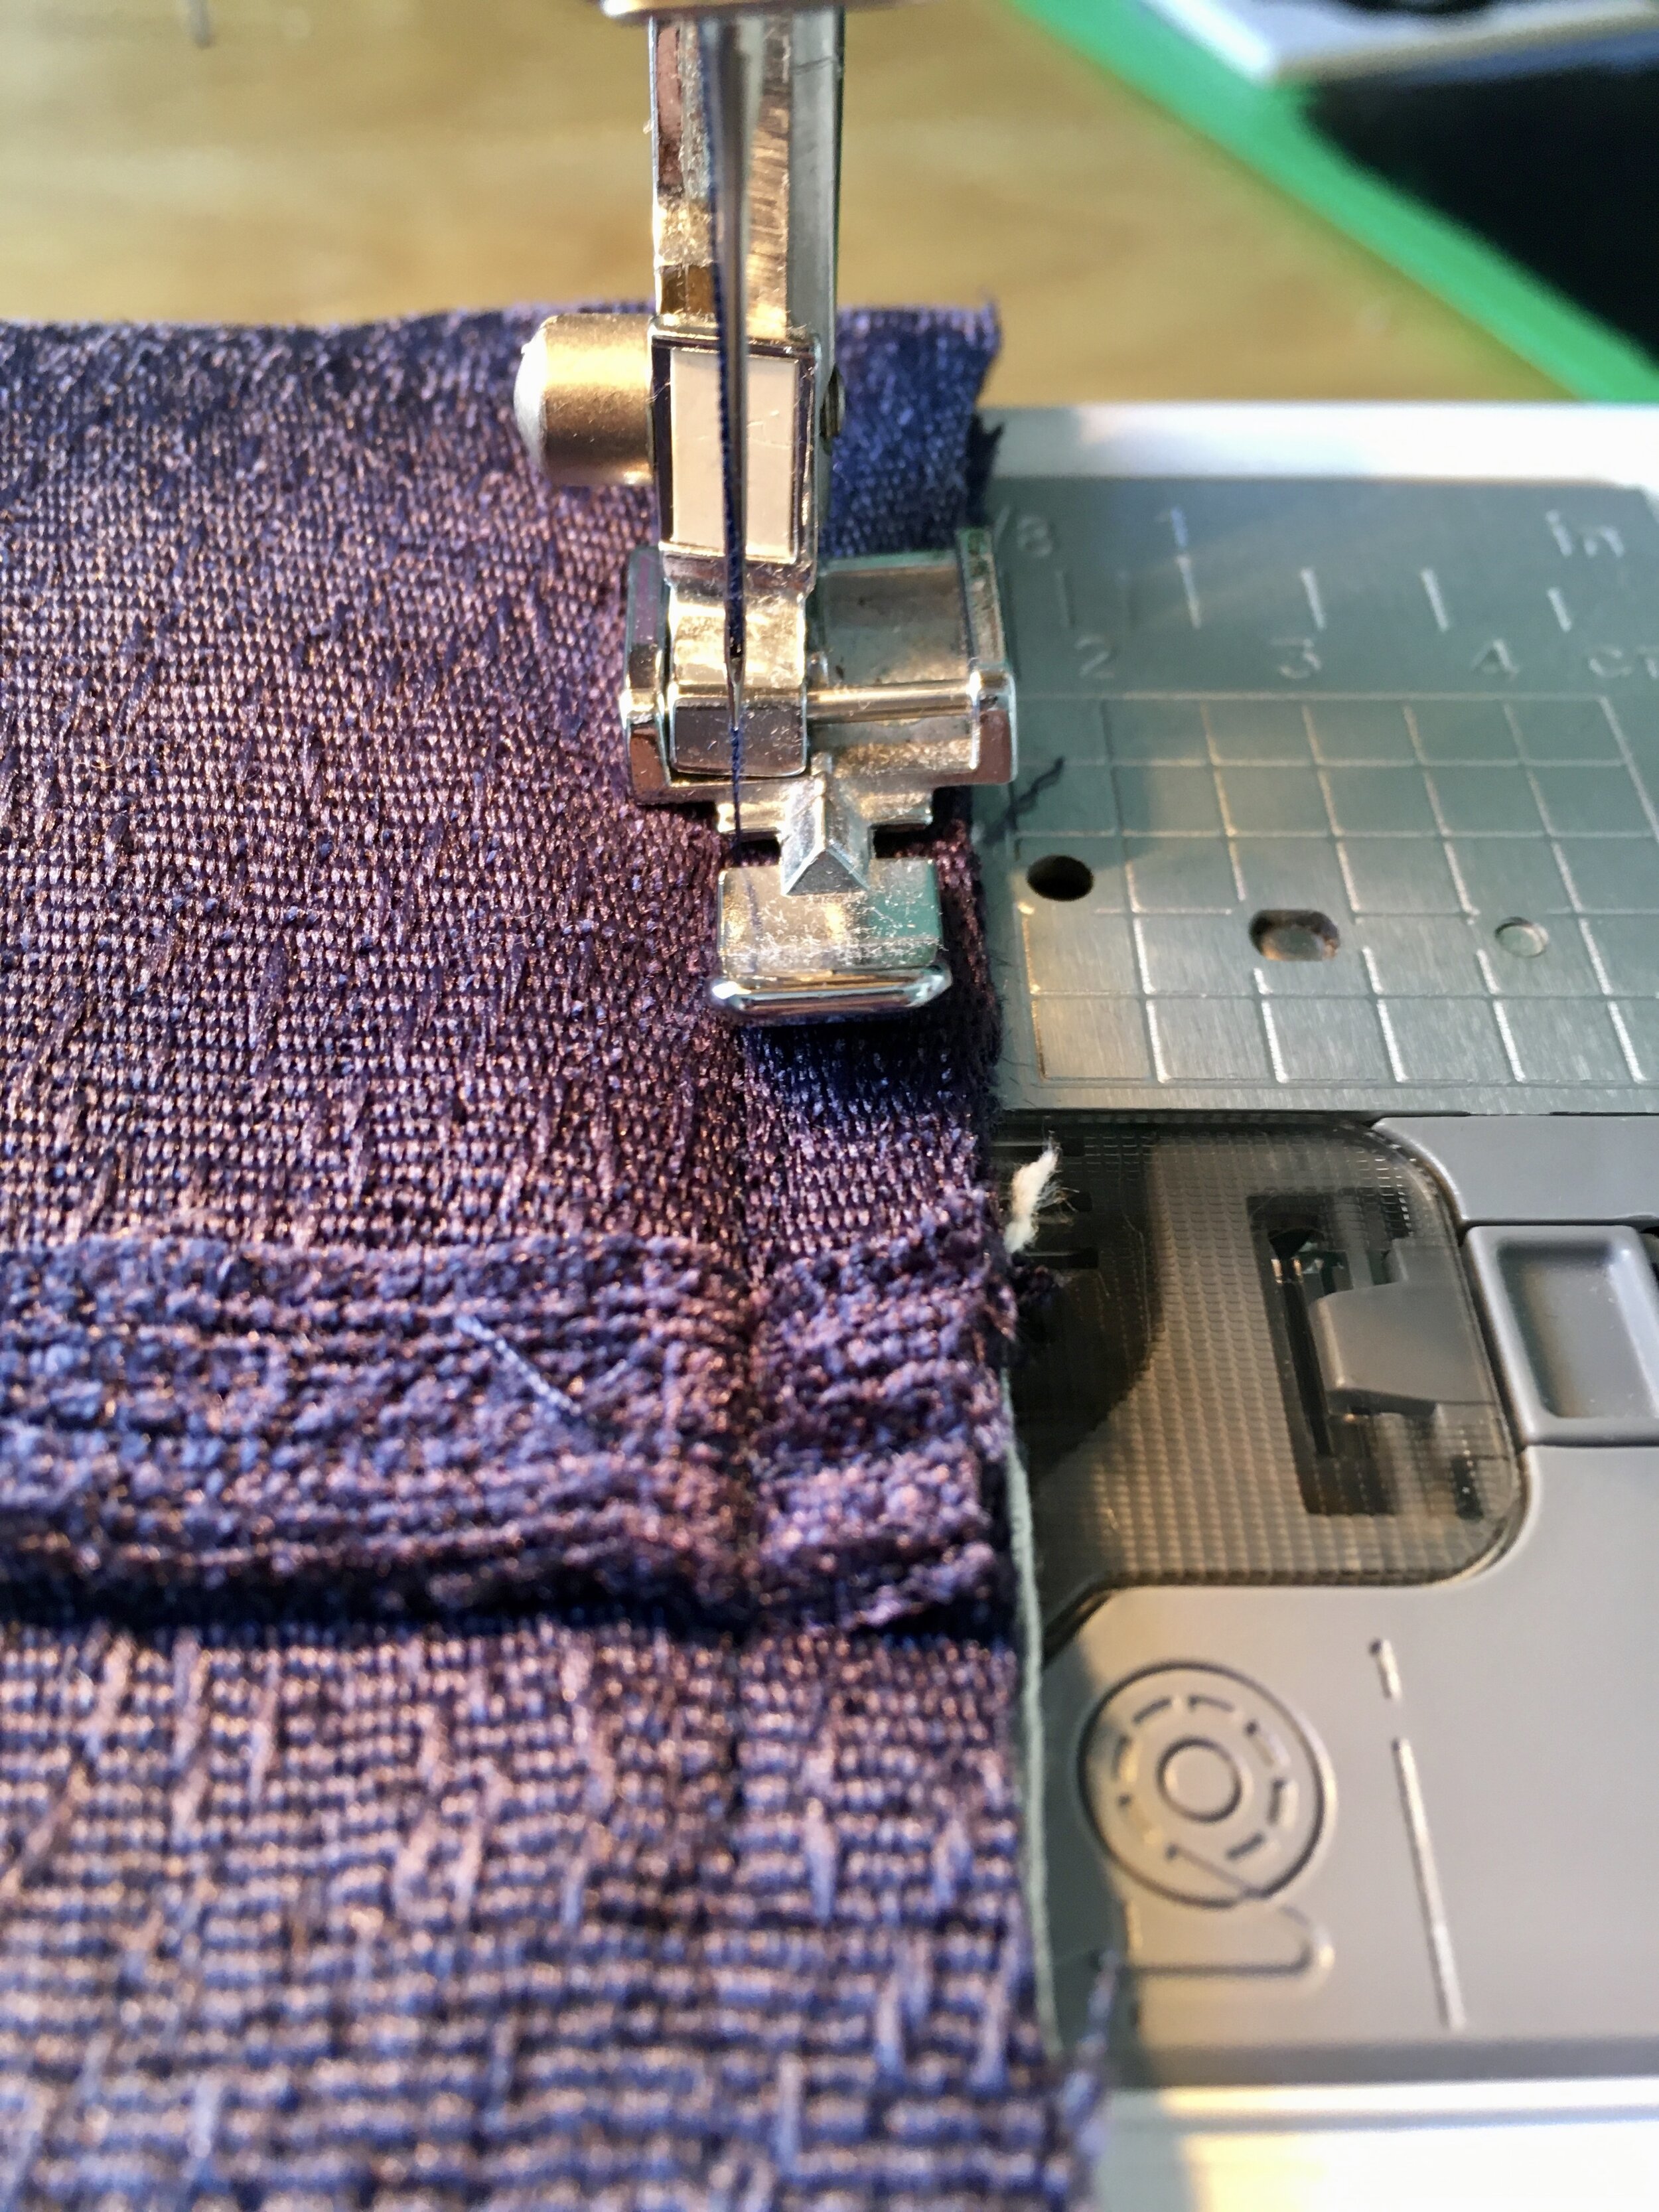
Iron all your fabric. Take your two back pieces and overlock (or zigzag stitch) one of the edges (the edge that will be exposed in your overlap at the end). With your two back pieces, fold a small seam allowance of 1-2cm and press this down with the iron. If needed, pin this in place, and then sew along the pressed edge to hold, using a simple running stitch.

Step 3 - pinning the cushion together
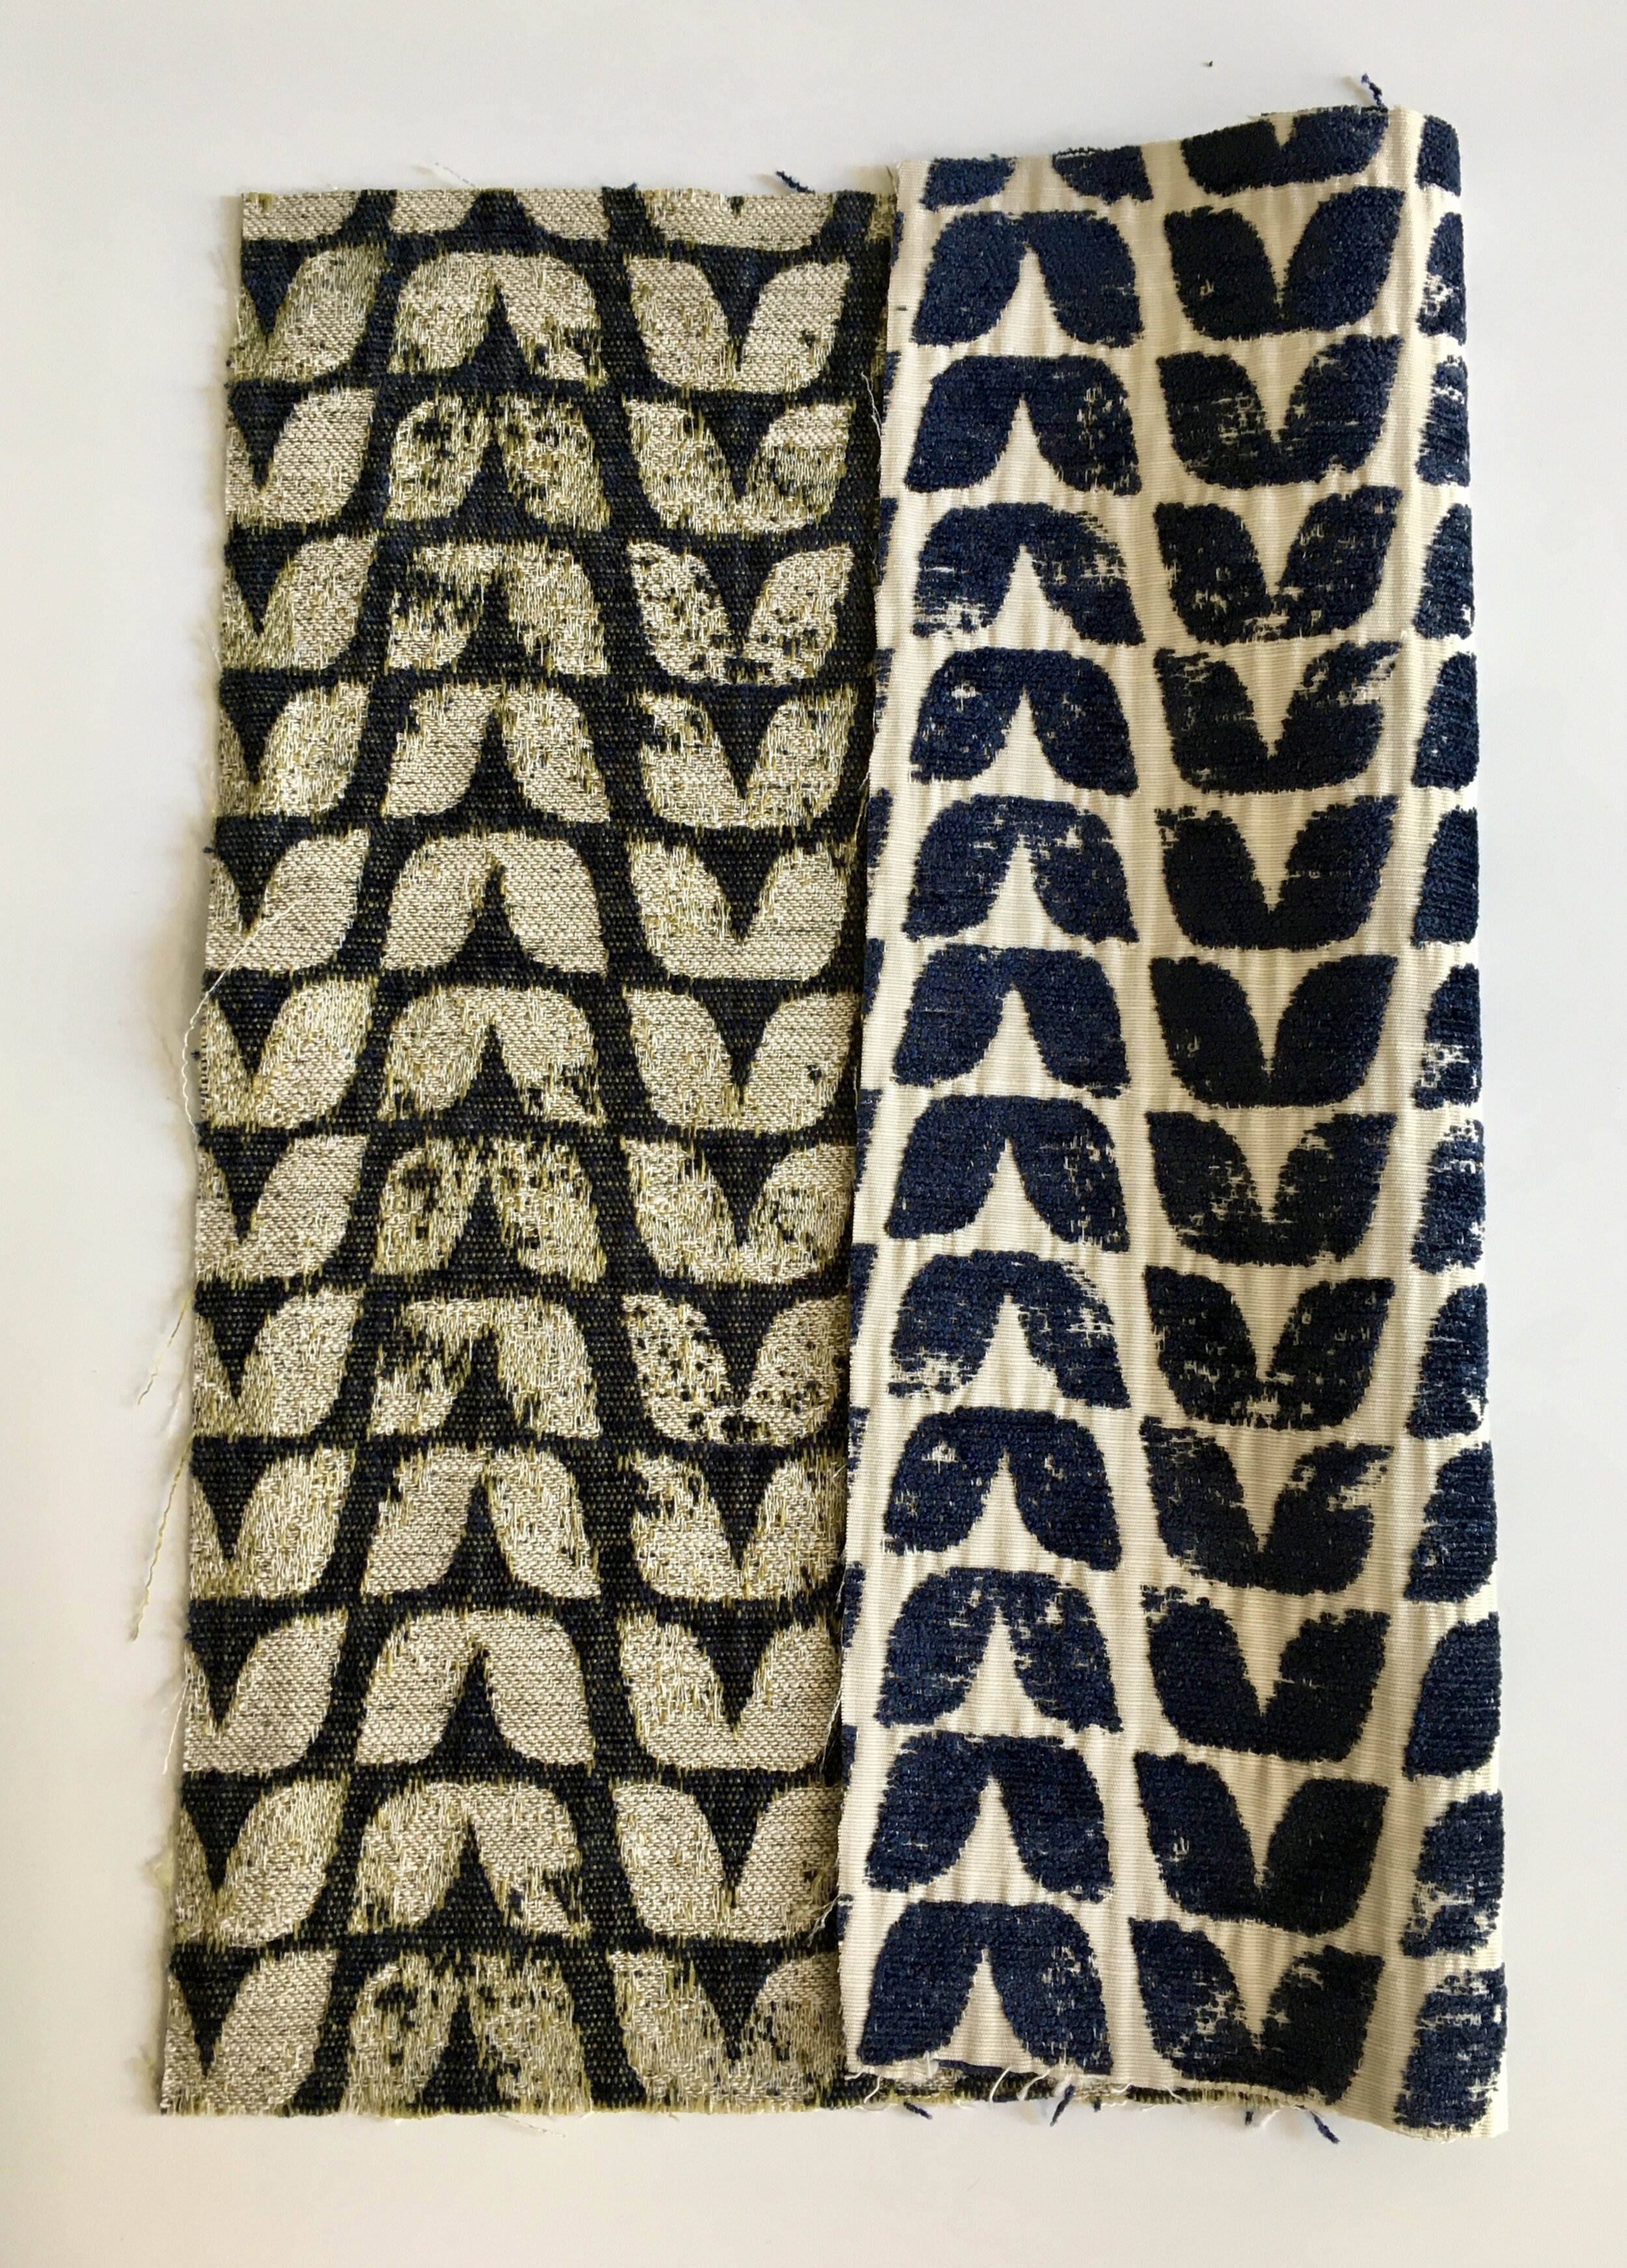
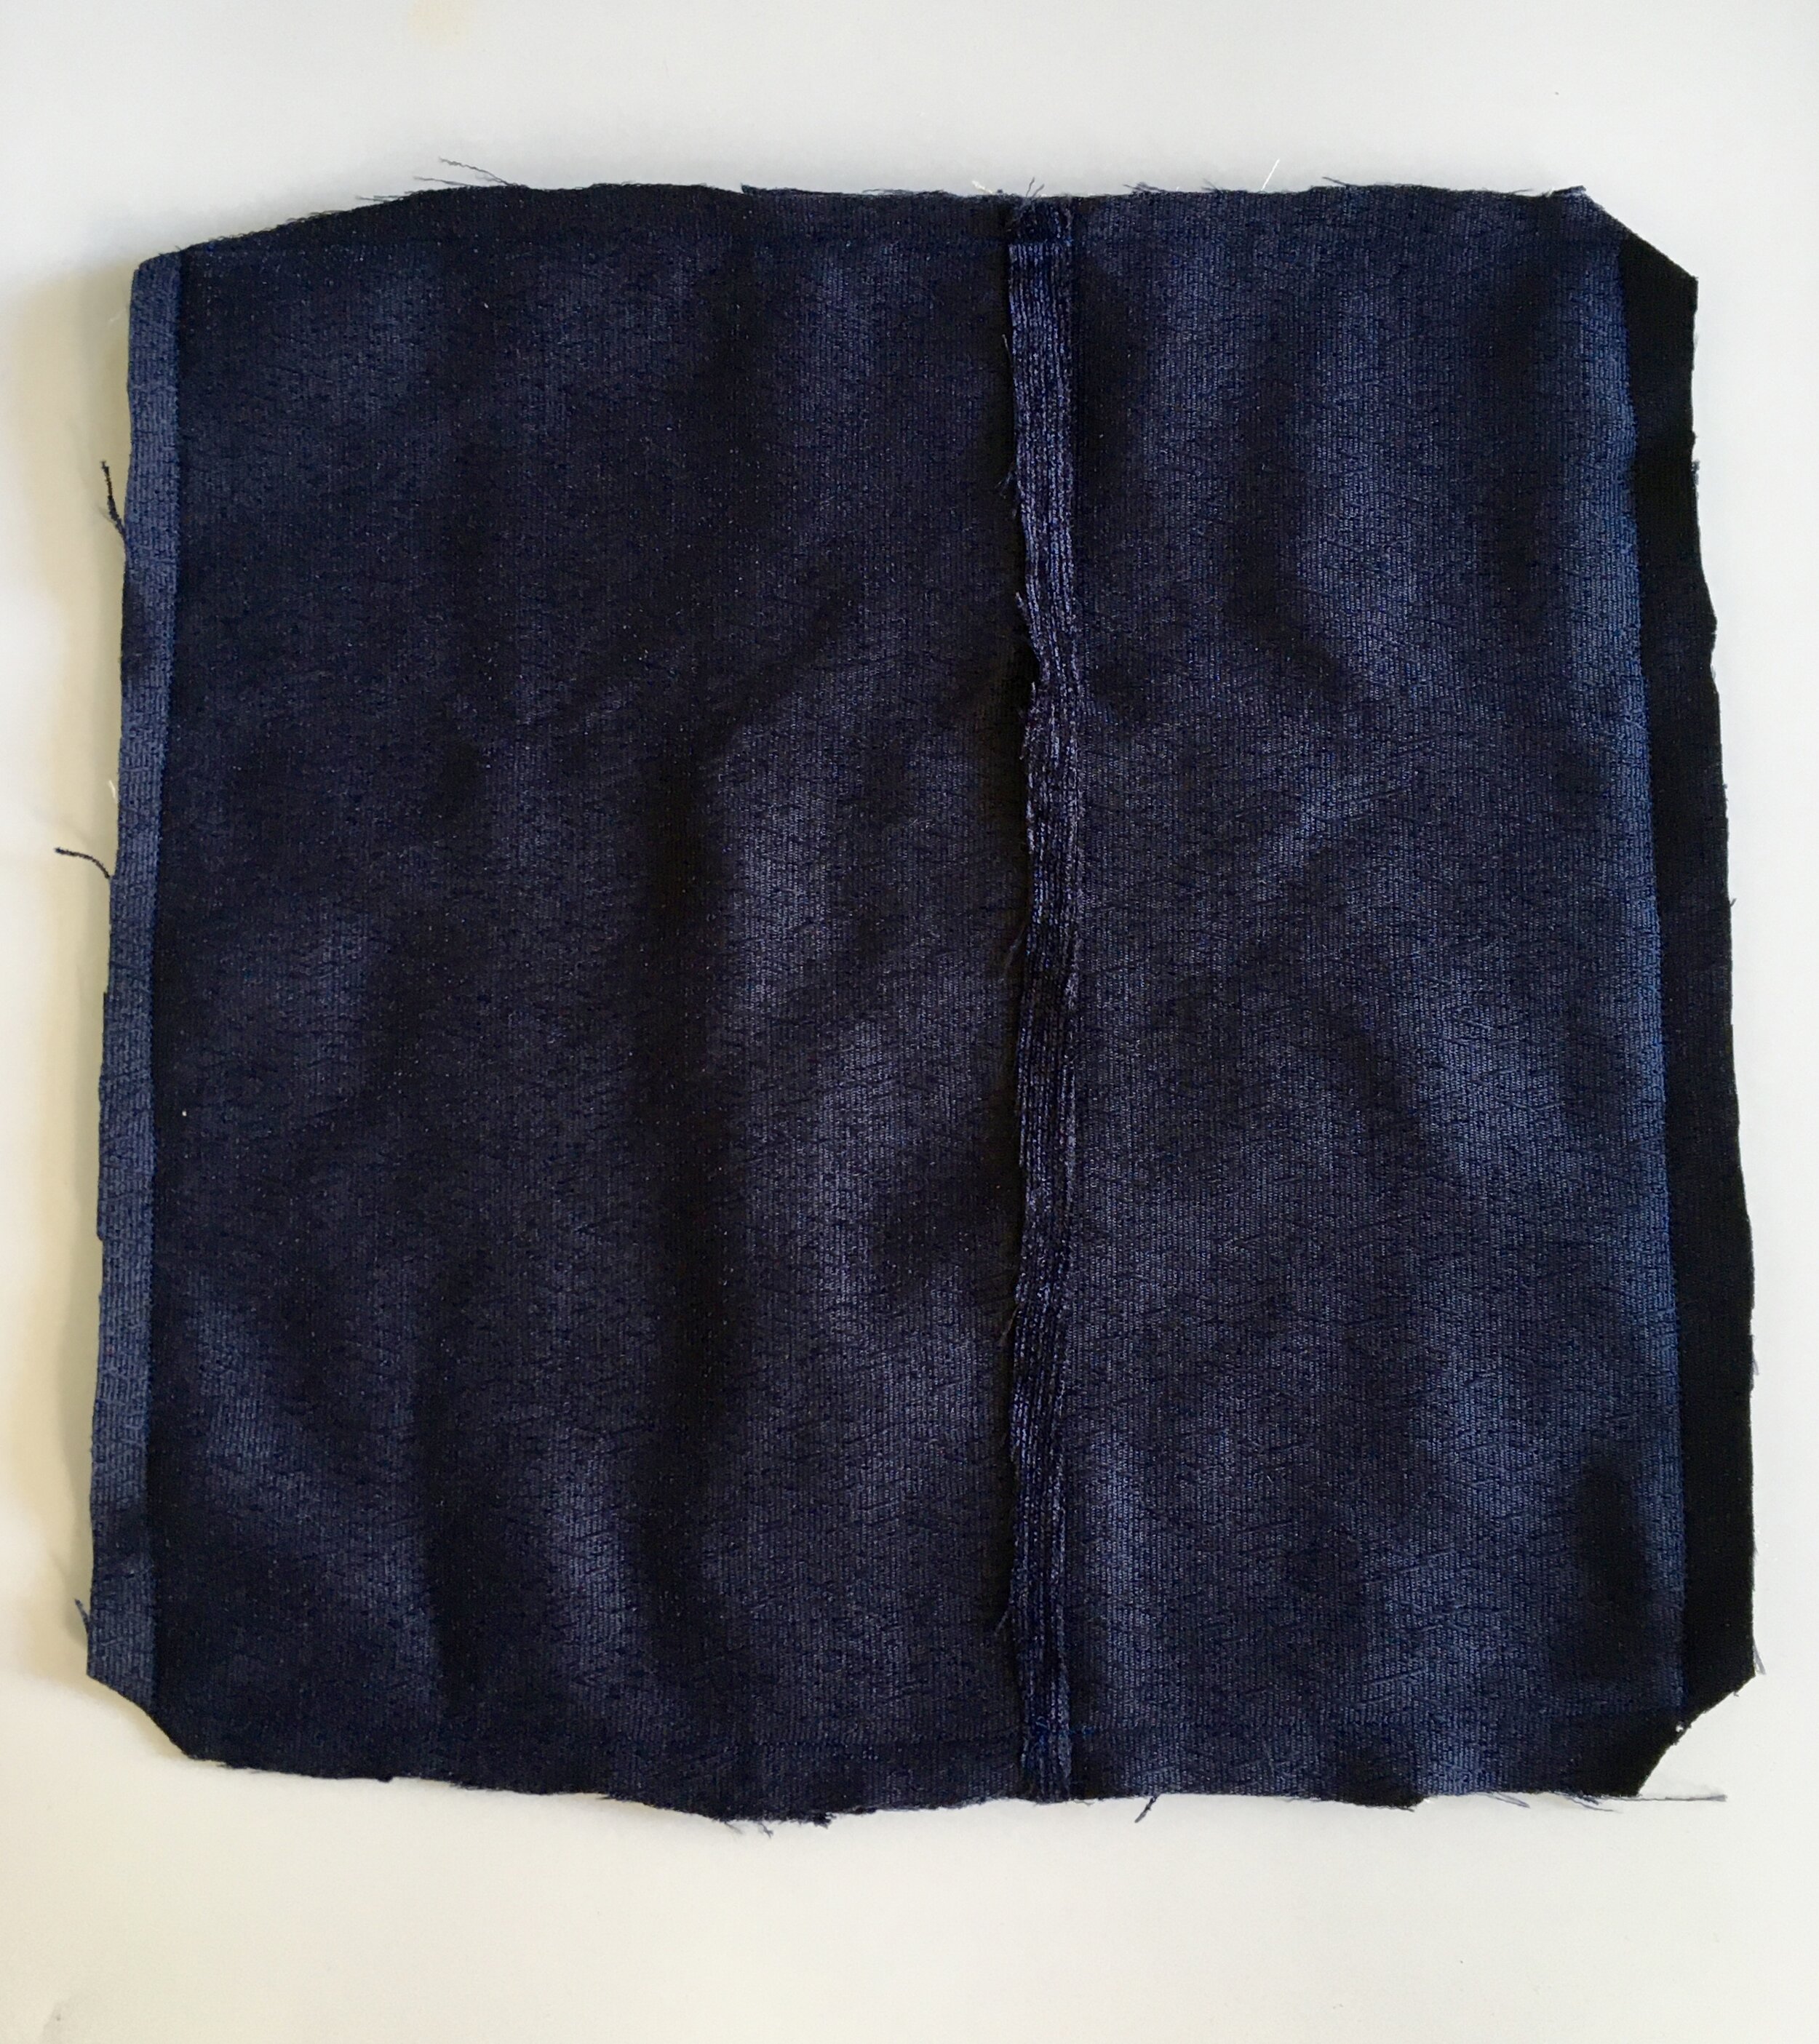
Here you can see the wrong side (left) and right side (right) of the fabric
Now you need to assemble your cushion together. Place all the right sides inwards when you’re pinning and assembling your cushion cover. Can you see any of the final/outside of the cushion when pinned? If so, you’ve gone wrong! Place the front of the cushion right side up, and then the two back pieces right side on top of this, ensuring that the back pieces are straight. Work so that there is a suitable overlap at the back, and re-measure your cushion at this point to check that you’ve not gone too astray.
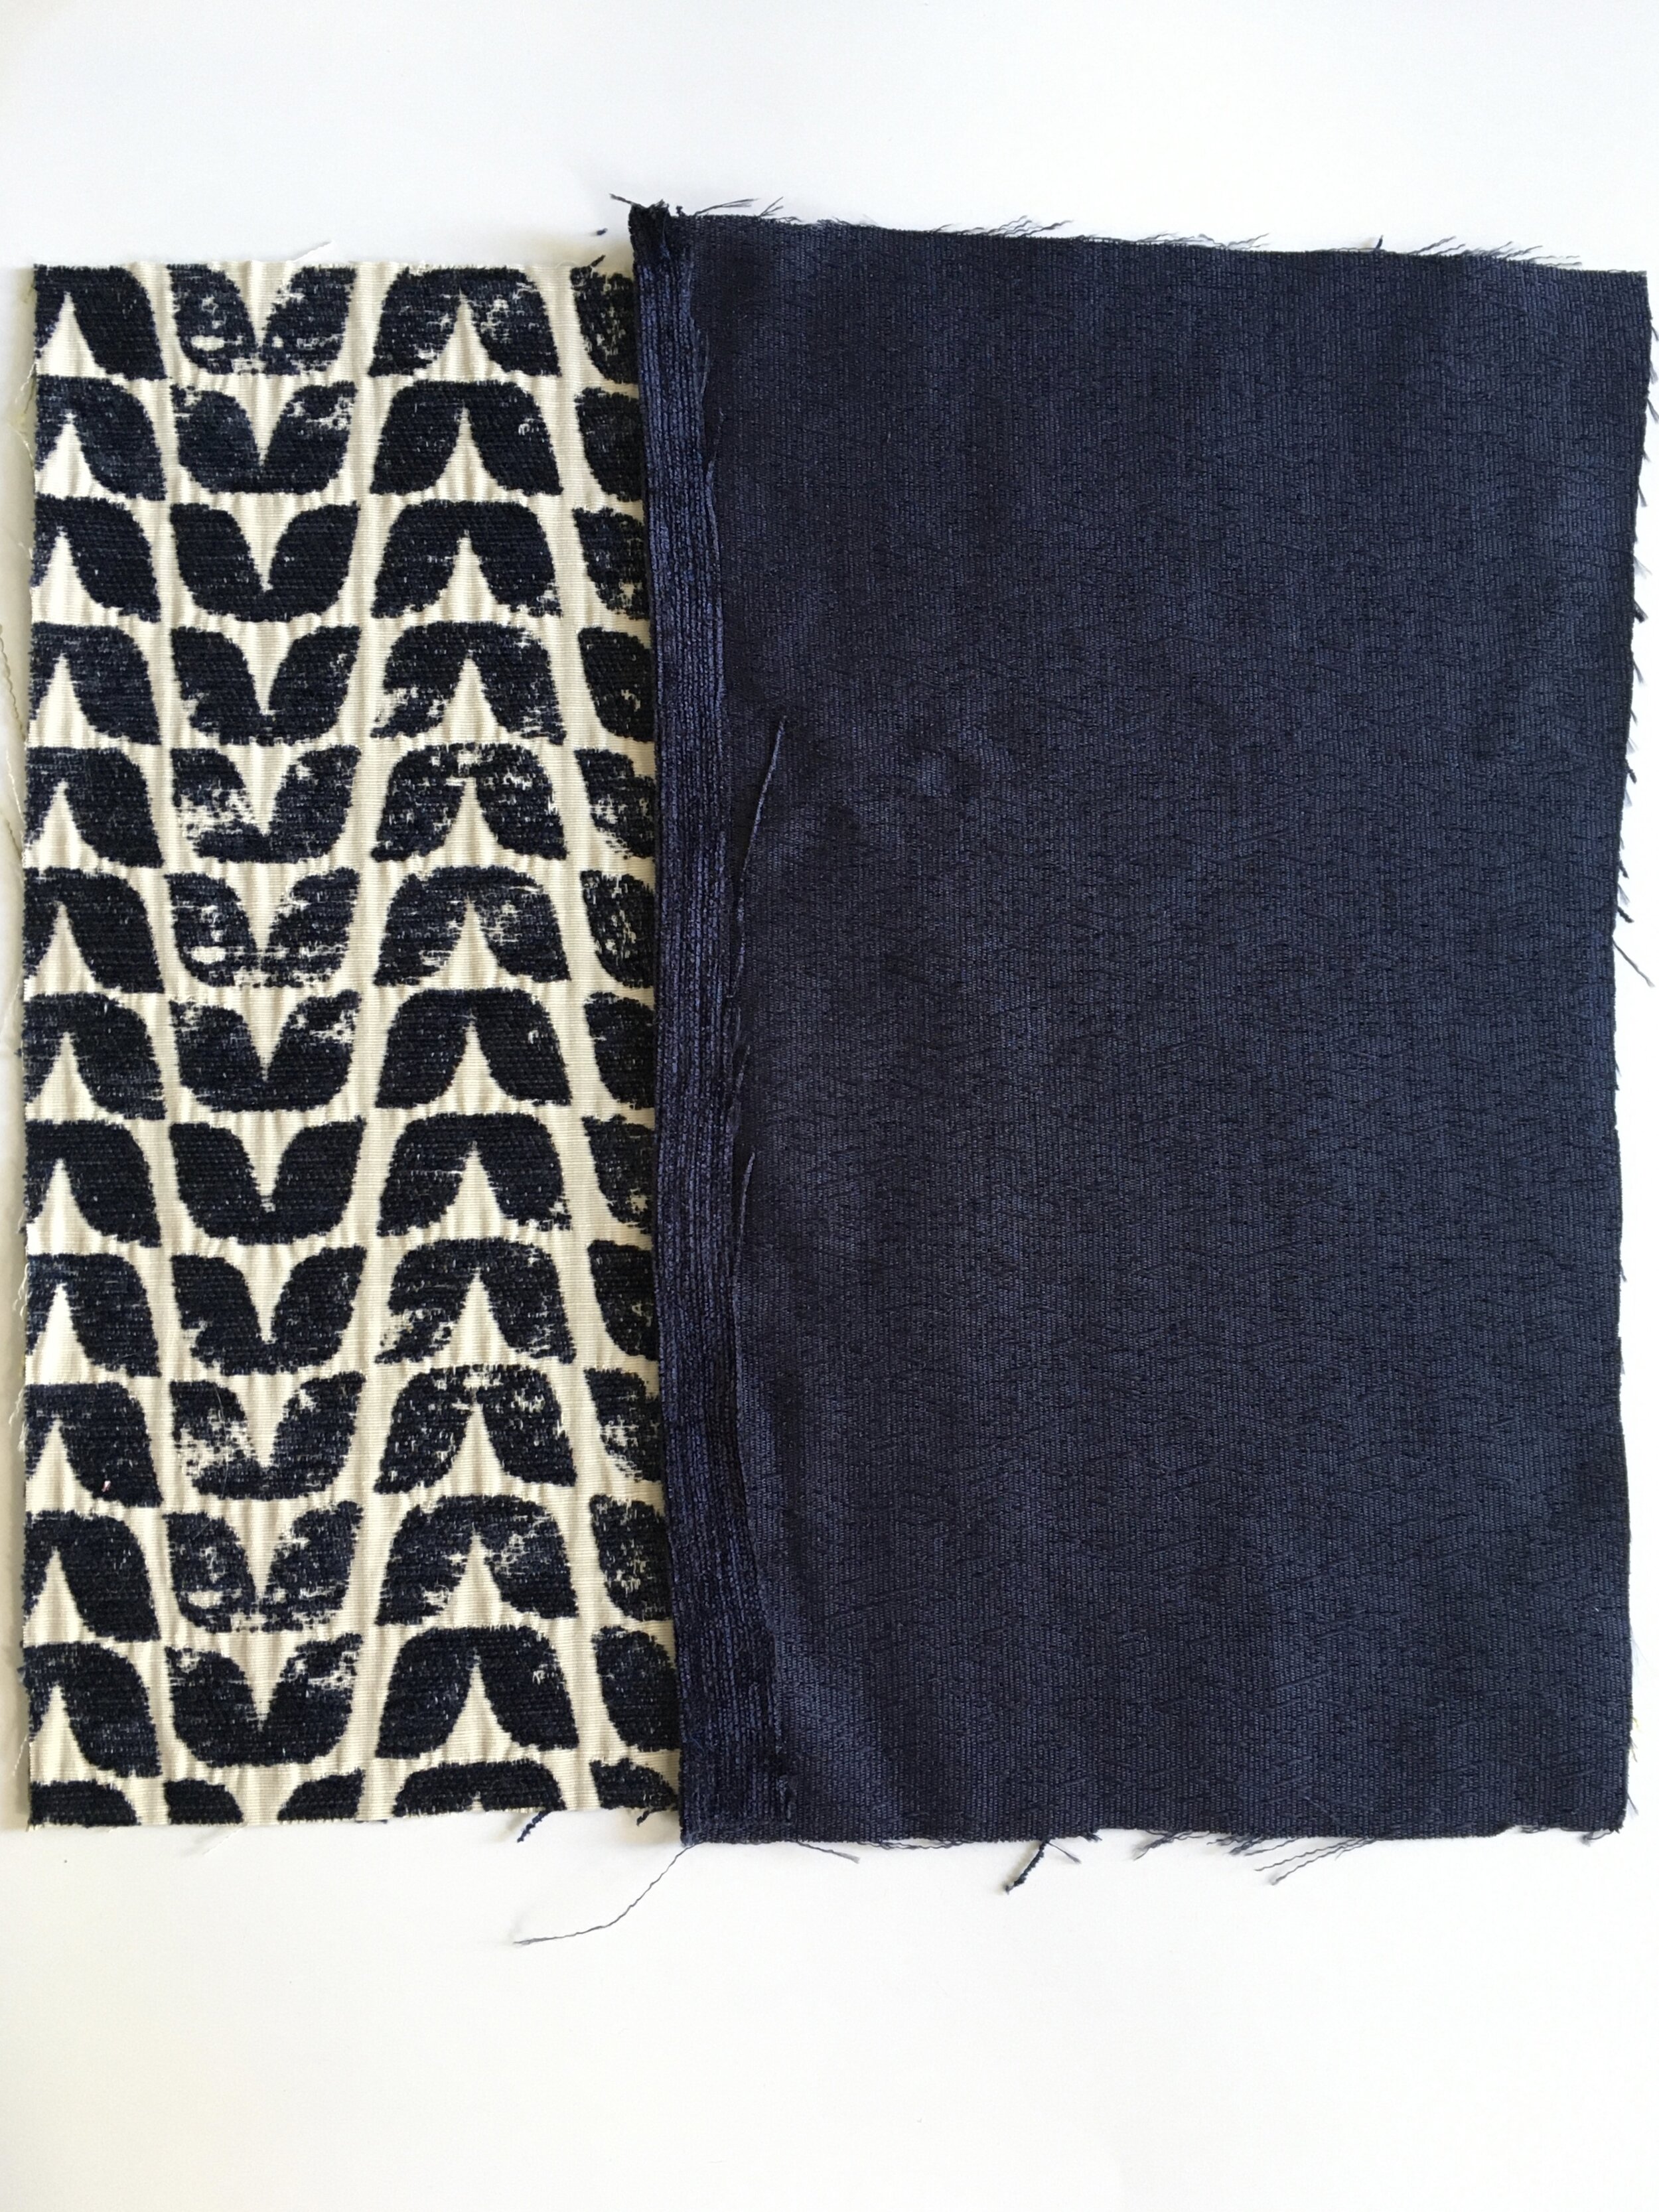
Put the right sides together
Now pin together, ensuring that you are leaving your seam allowance; you will follow the pins to sew.

Pin (all the right sides inward) all your pieces together
It’s also a good idea at this point to trim any excess edges so that you have a neat finish and don’t go off piste with your sewing!

Trim any excess off your edges
Step 4 - sewing your cushion cover
Starting at a corner, sew your cushion by following the pin lines. I go back and forwards over the corners as well as the areas where the overlaps are (all 3 pieces together) for added rigidity.
Sew together, doubling back over the overlap areas for added rigidity
Once complete, trim the edges if necessary and cut the corners off at an angle. This gives your cushion corners a better point when turned out. Overlock/zigzag stitch the outside edge to prevent fraying.
Cut the corners at an angle as close to the stitching as you dare, to give a better point when turned out.
Step 5 - finishing touches
Turn your cushion right way out - take a second to admire your handy work! Use a pair of blunt scissors to point the corners. If you want to add a button, measure half way/the middle of the inside overlap and make a mark with the chalk.

Measure half way down the cover to add a button
Attach your button securely with a needle and thread. Cut a small hole in the top overlap layer above, so that the button fits through, and then use blanket stitch to prevent fraying.
And there you have it! Your very own cushion cover :)


