Upholstery - a rough guide
If you’ve had a browse on my Crafty Blog, you will see pretty quickly that I have a bit of a love for upholstery! I’ve been dabbling with upholstery for nearly a year now, spending many a weeknight evening at the Bristol Upholstery Collective.
I am by no means an expert, in fact, my dream would be to do the AMUSF diploma Level 1 to be able to become more proficient, however, in the next series of blog posts I will go through an overview of the types of stages that I am progressing through on the course.
Stage 1

Removing the old fabric and getting to know your chair!
This is such a rewarding, but also very challenging stage, of the upholstery project. In this stage, you get to know the original maker of the chair…and whether they wanted it to be upholstered in the future!! This is usually by the number of tacks or staples that are within the chair. Always start from the bottom of the chair; this is usually a good “entry point” as the bottom fabric will be quite basic and easy to remove.
Meeting your tools
In order to remove the fabric and reveal the skeleton of the chair, you will need some key upholstery tools.
Scissors: these are perhaps not needed, however, for the instant breaking of the bottom fabric they may come in handy!
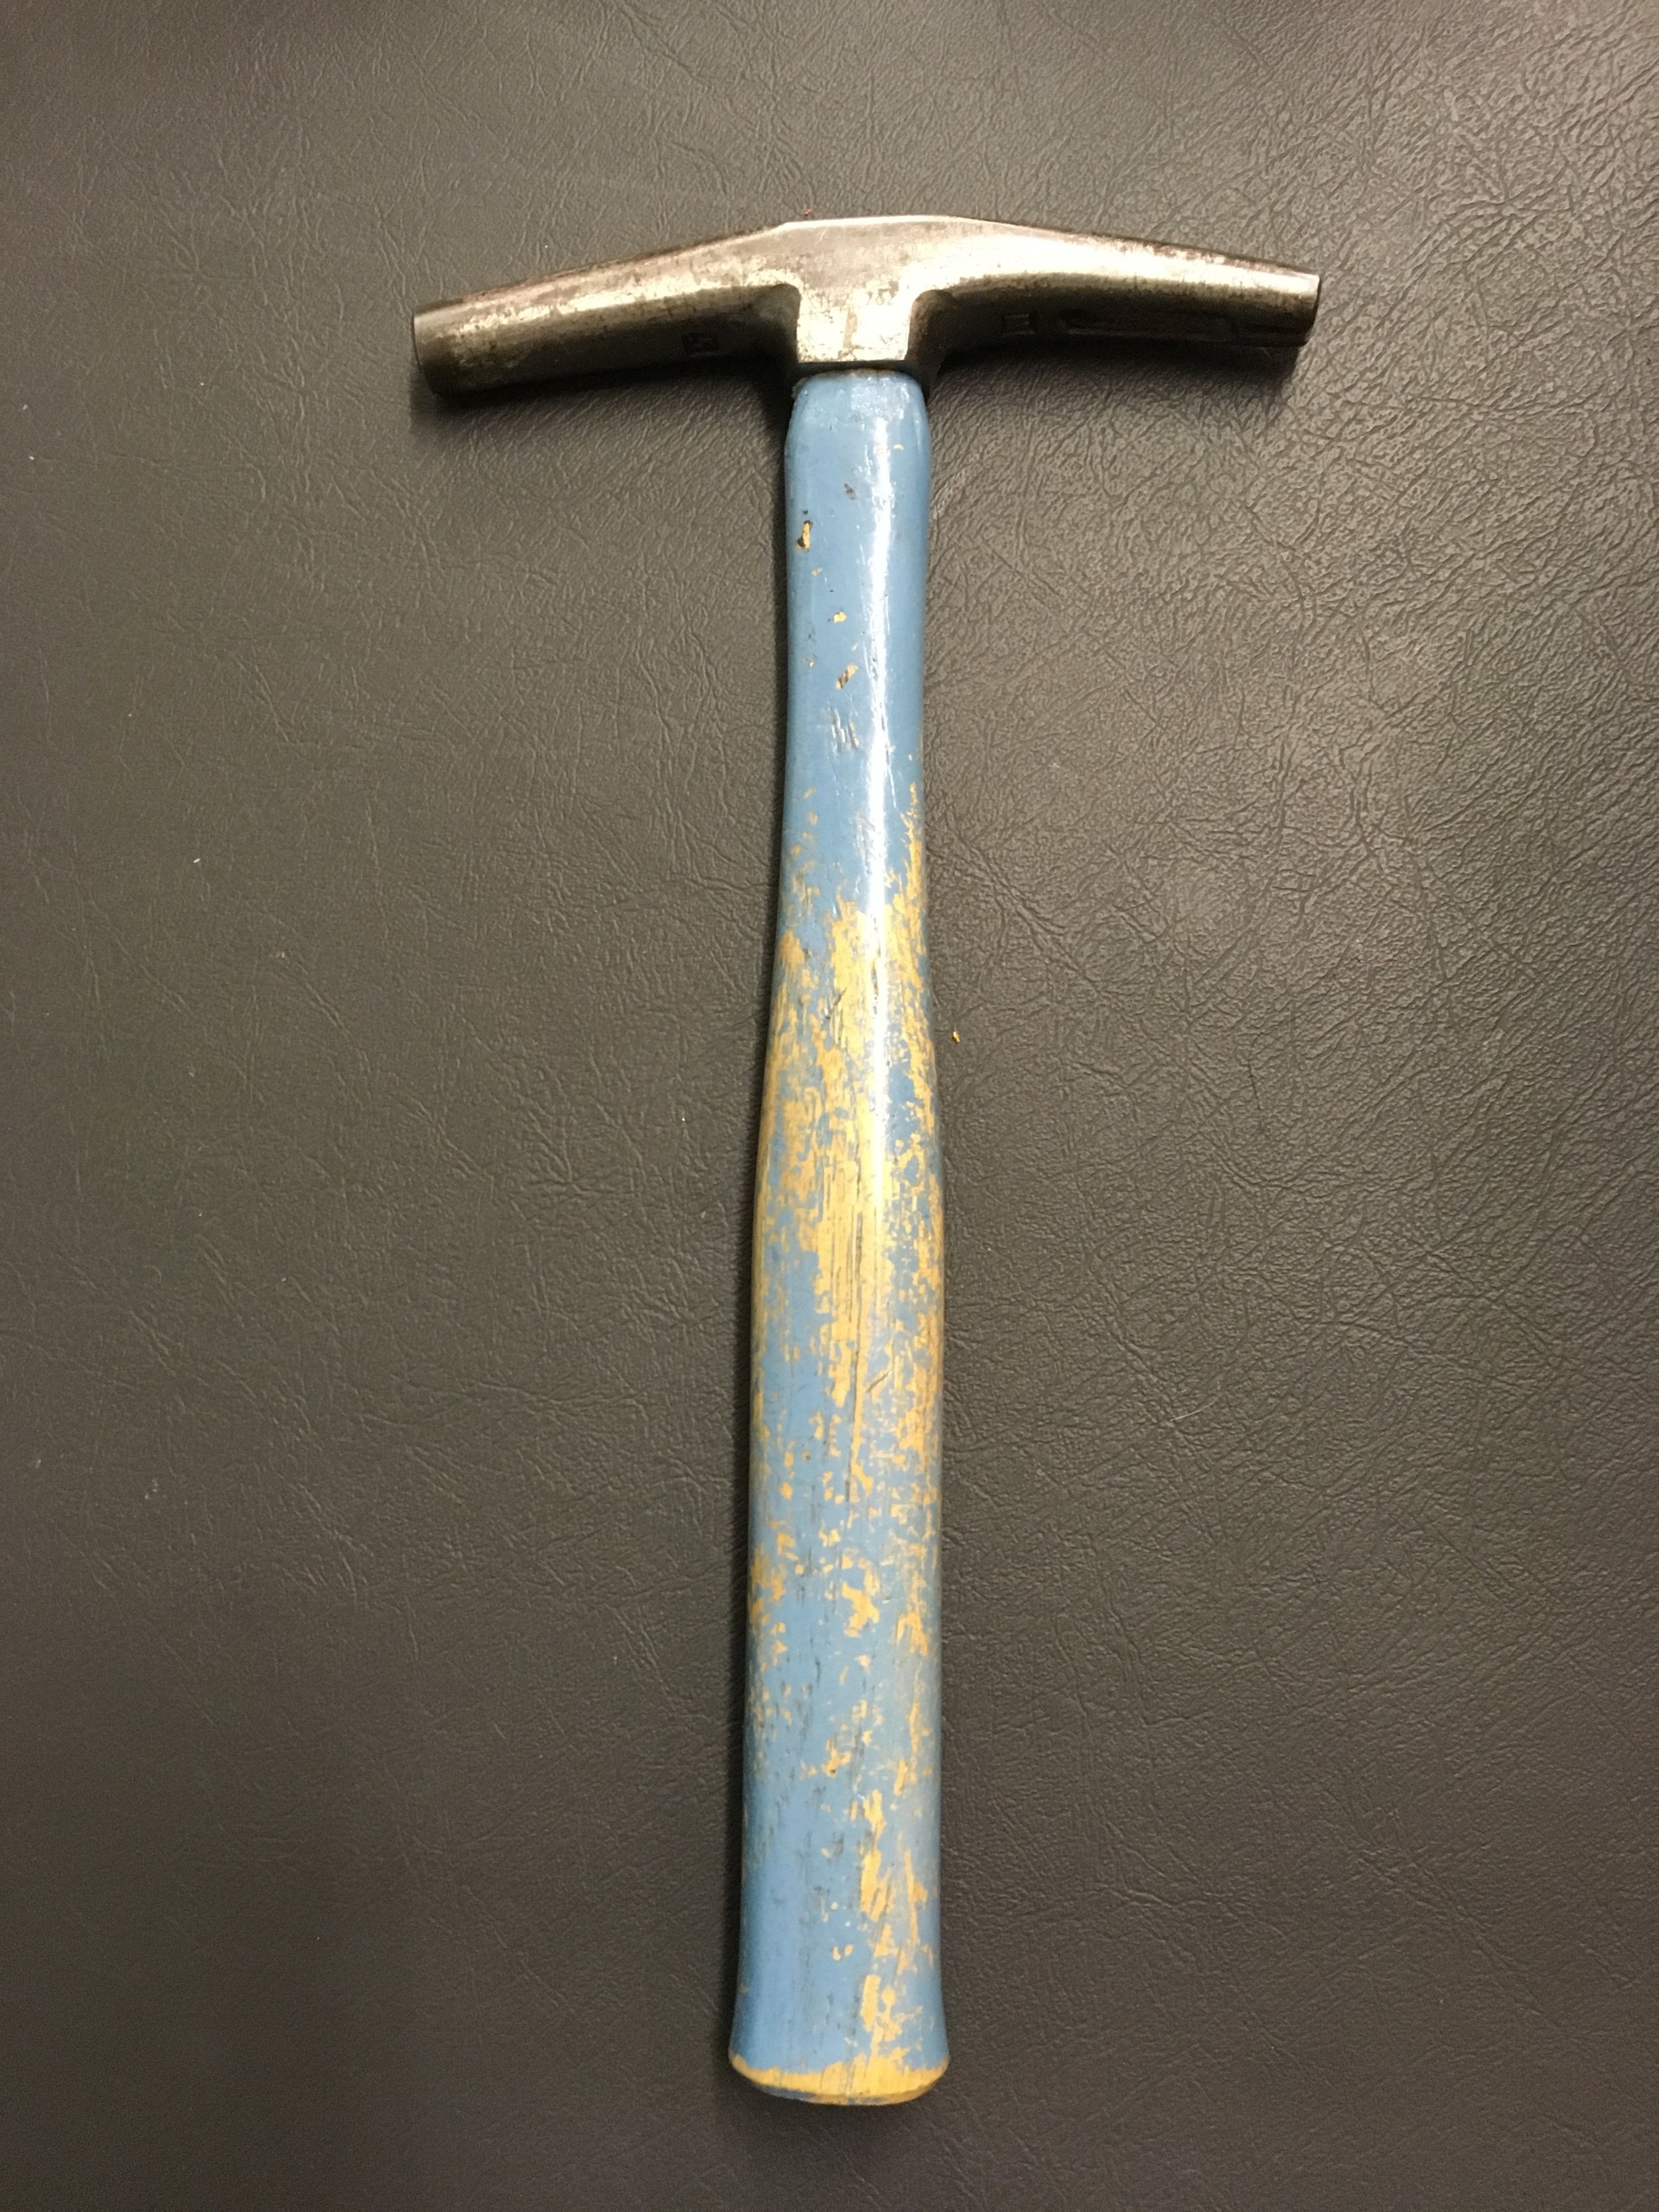
Tack remover: these are a necessity when it comes to removing previous tacks.
Staple remover: perfect for getting rid of ridiculous numbers of staples that are often very unnecessary!
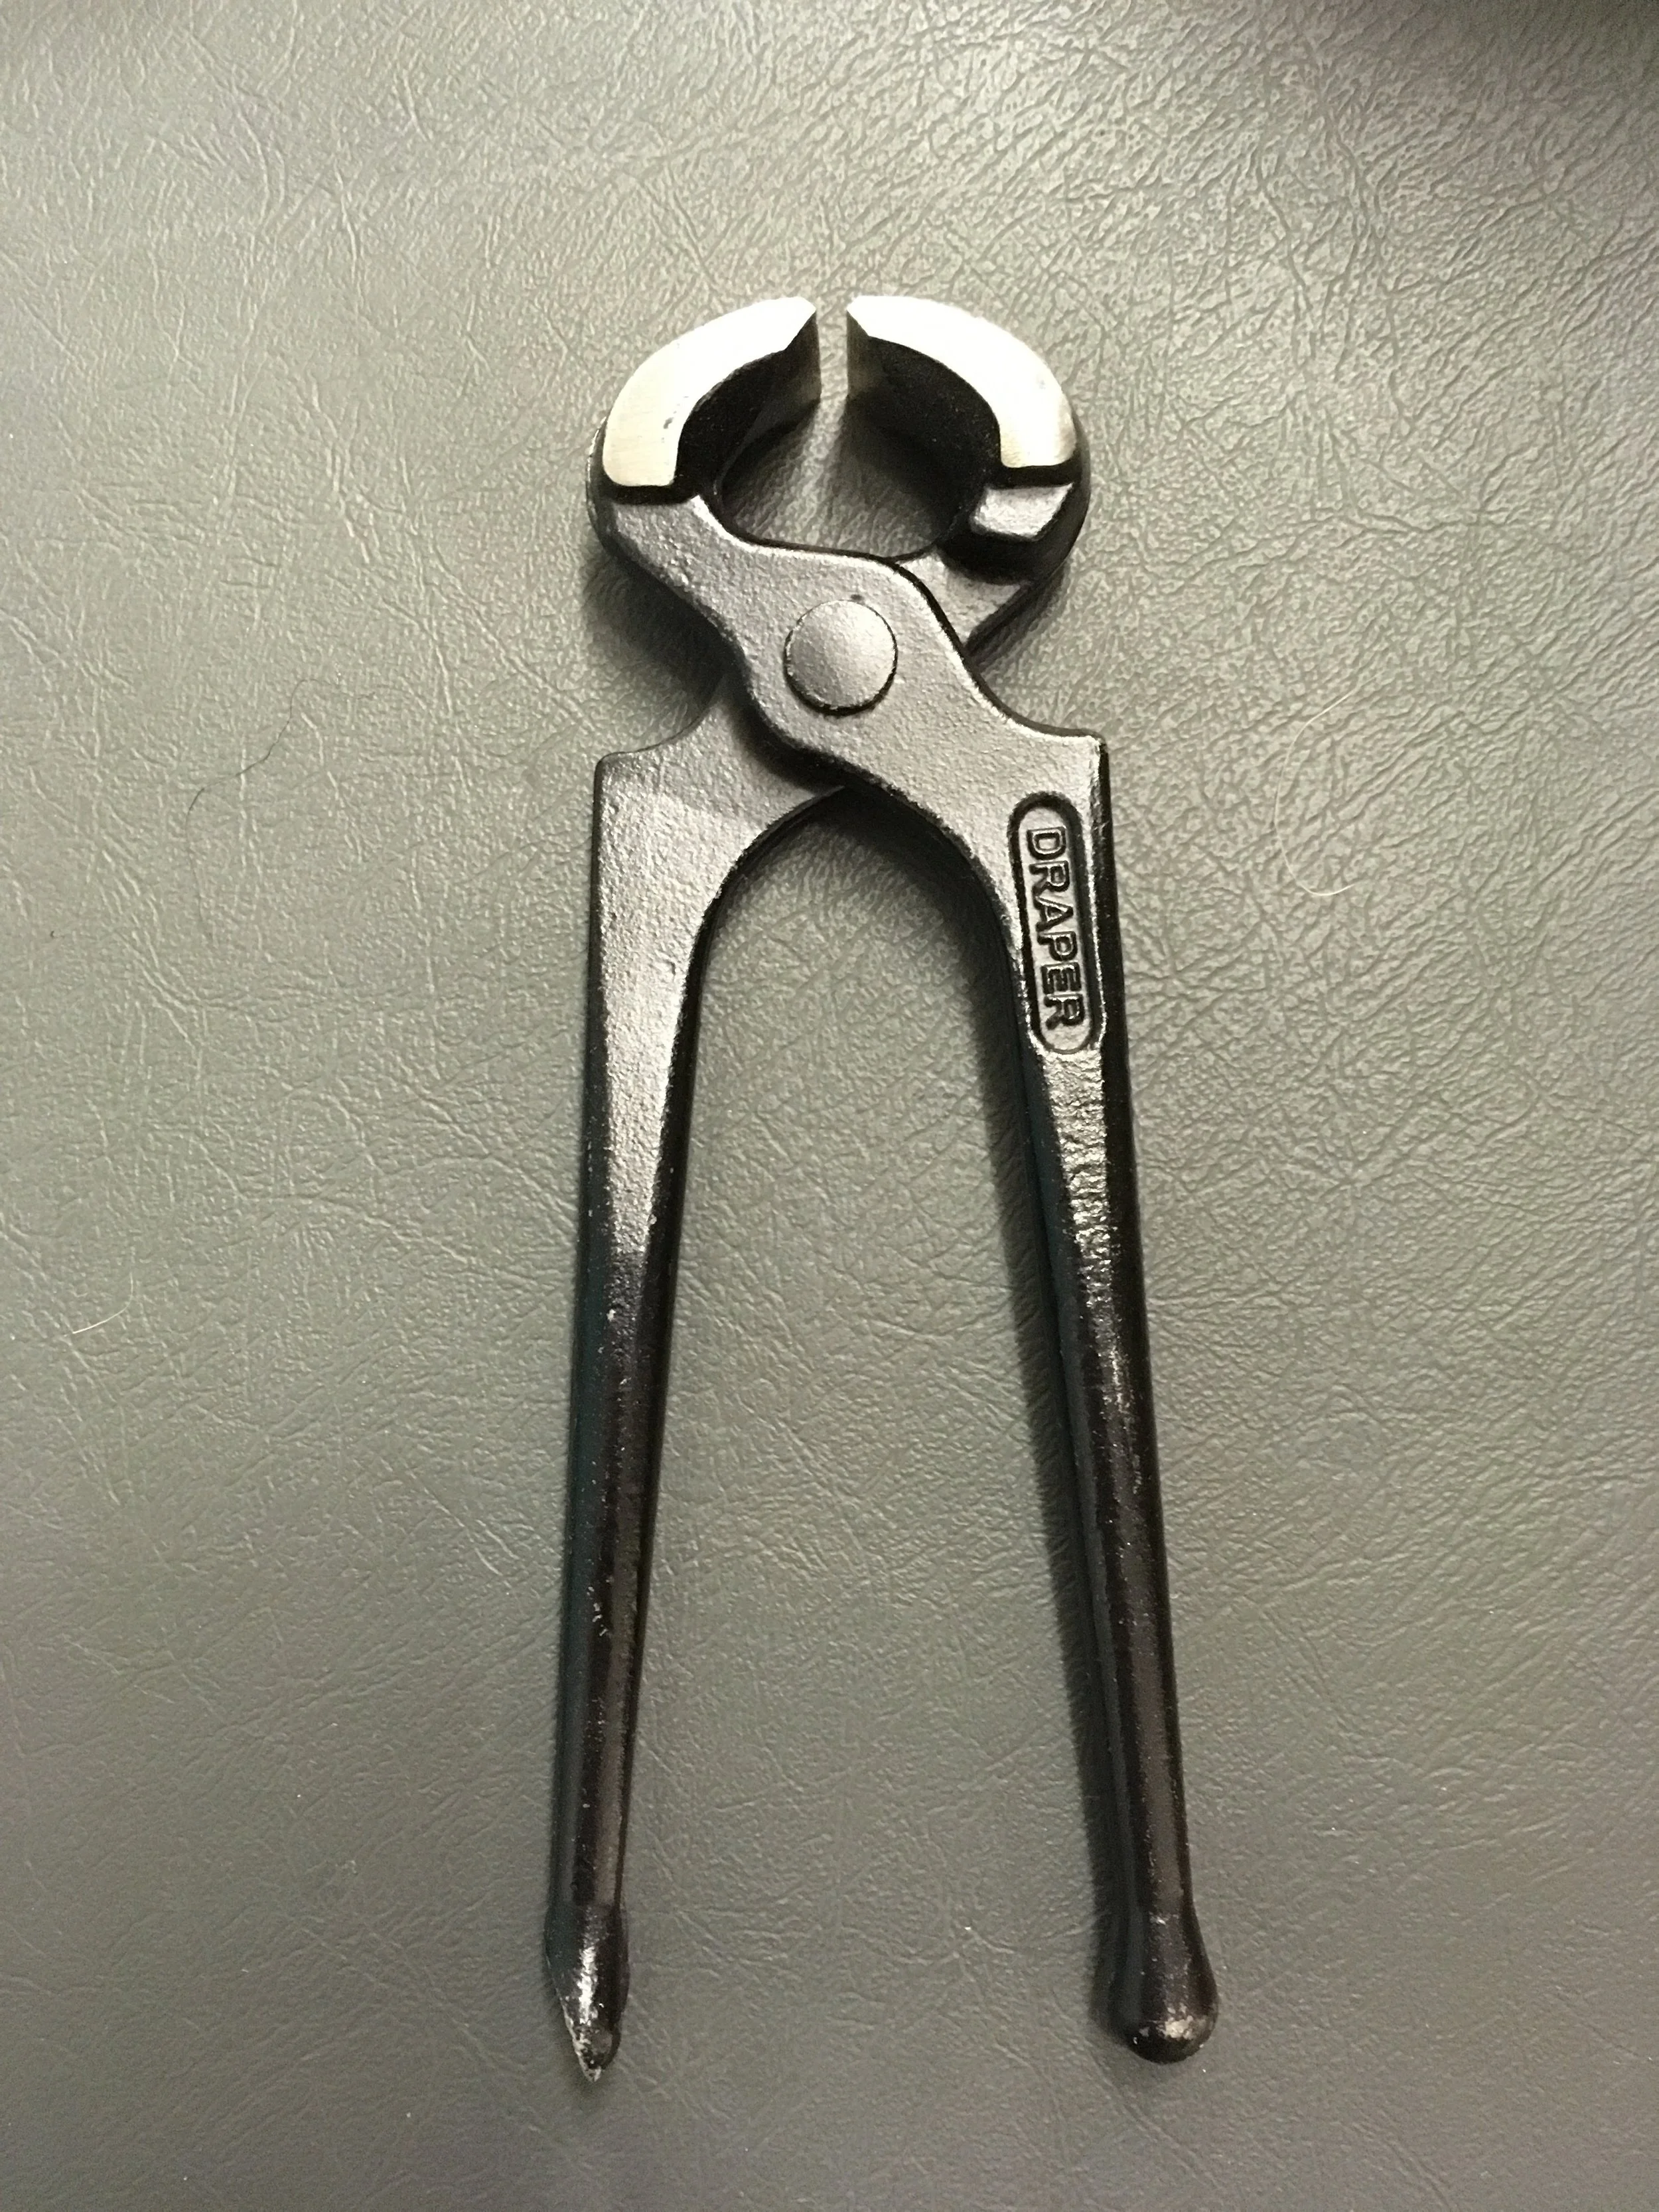
Pliers: often the most effective way to remove great numbers of tacks or staples is with pliers. Grab hold of the corner of the fabric and, with great strength, rip across to remove lots in one go – very effective!

The process of removing the old fabric can vary depending on the size and type of upholstery project. This armchair took well over 6 hours due to the sheer number of staples!! Make sure you allow a lot of time, try not to get too frustrated, and have multiple cups of tea.
Once you have removed the fabric, it’s now time to assess the “internals” of th chair. What condition are they in – is it a recover or a reupholster? How has the original chair maker built the chair – traditionally or using modern upholstery techniques?
This armchair was constructed using foam which is a modern technique; and the foam was good enough quality to be kept and recovered. Alternatively, if it had been built traditionally using horse hair for example, the likelihood would be that it would need to be rebuilt. There are pros and cons to each technique – whether you want a quicker recover or learn some new skills through a more in-depth upholstery process.
In the next post, I’ll go through the first stages of covering your chair, including measuring the fabric, as this is a recover project. I hope you’ve enjoyed reading! 😊


