How to: Oven Baked Gift Tags/Christmas Tree Decorations
At Christmas, it’s often the personal touches that get remembered long after the big fancy gifts. That’s why I love to make a new Christmas tree decoration for friends and family every year, so that they can keep adding to their collection. In 2019, it was the year of the oven baked christmas tree decoration!
I actually used these oven baked gems as gift tags, instead of using a Christmas tag (if you want an idea of how to make Christmas present tags see this blog post), and this year, they can be used as a Christmas tree decoration. I saw the idea for these in Kirstie’s Christmas Craft book - read more about that book here.

What you will need:
Oven bake clay (this is the one that I bought)
Large ceramic tile (I used an old bathroom one)
Rolling pin
Small christmas shaped cookie cutters
Letter stamps
Knitting needle
Acrylic paint (optional)
Paint brush
Wire brush (optional)
Ribbon
Instructions
First, preheat your oven, following the instructions on your clay packet. Tear off a small piece of clay and roll it in your hand to soften it.
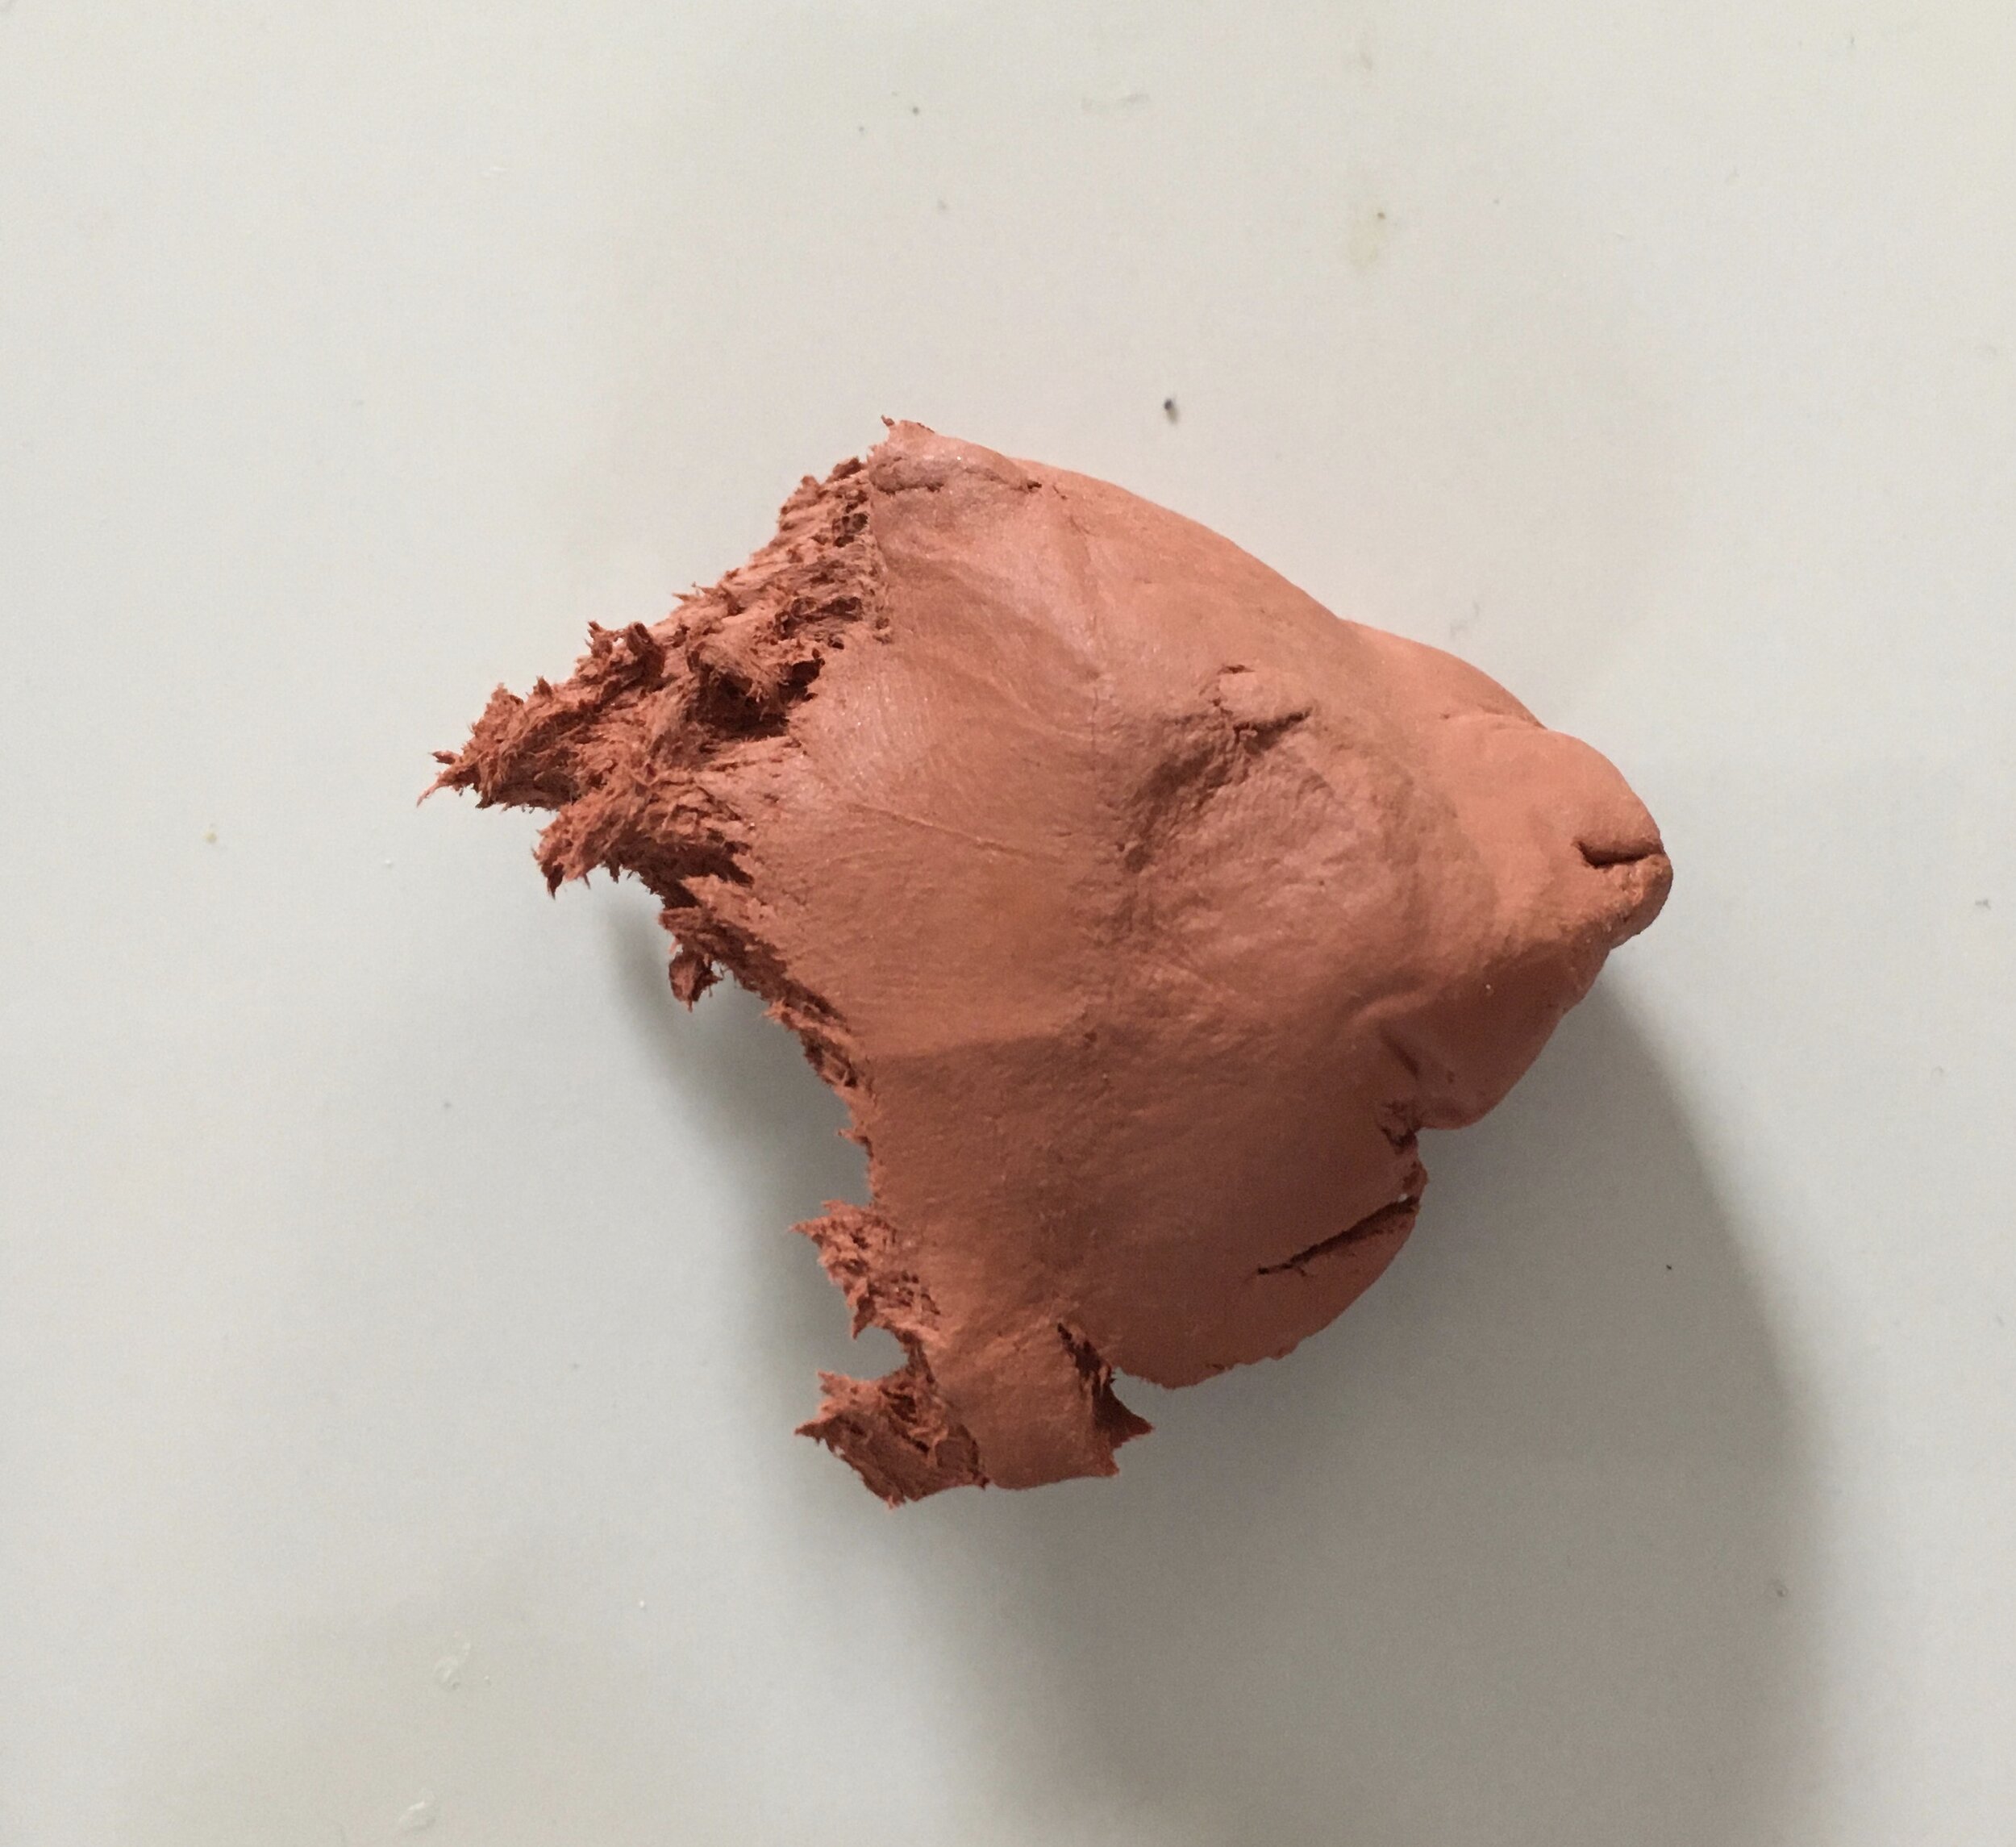
Place it on the tile and roll out so that it is about 1cm thick.

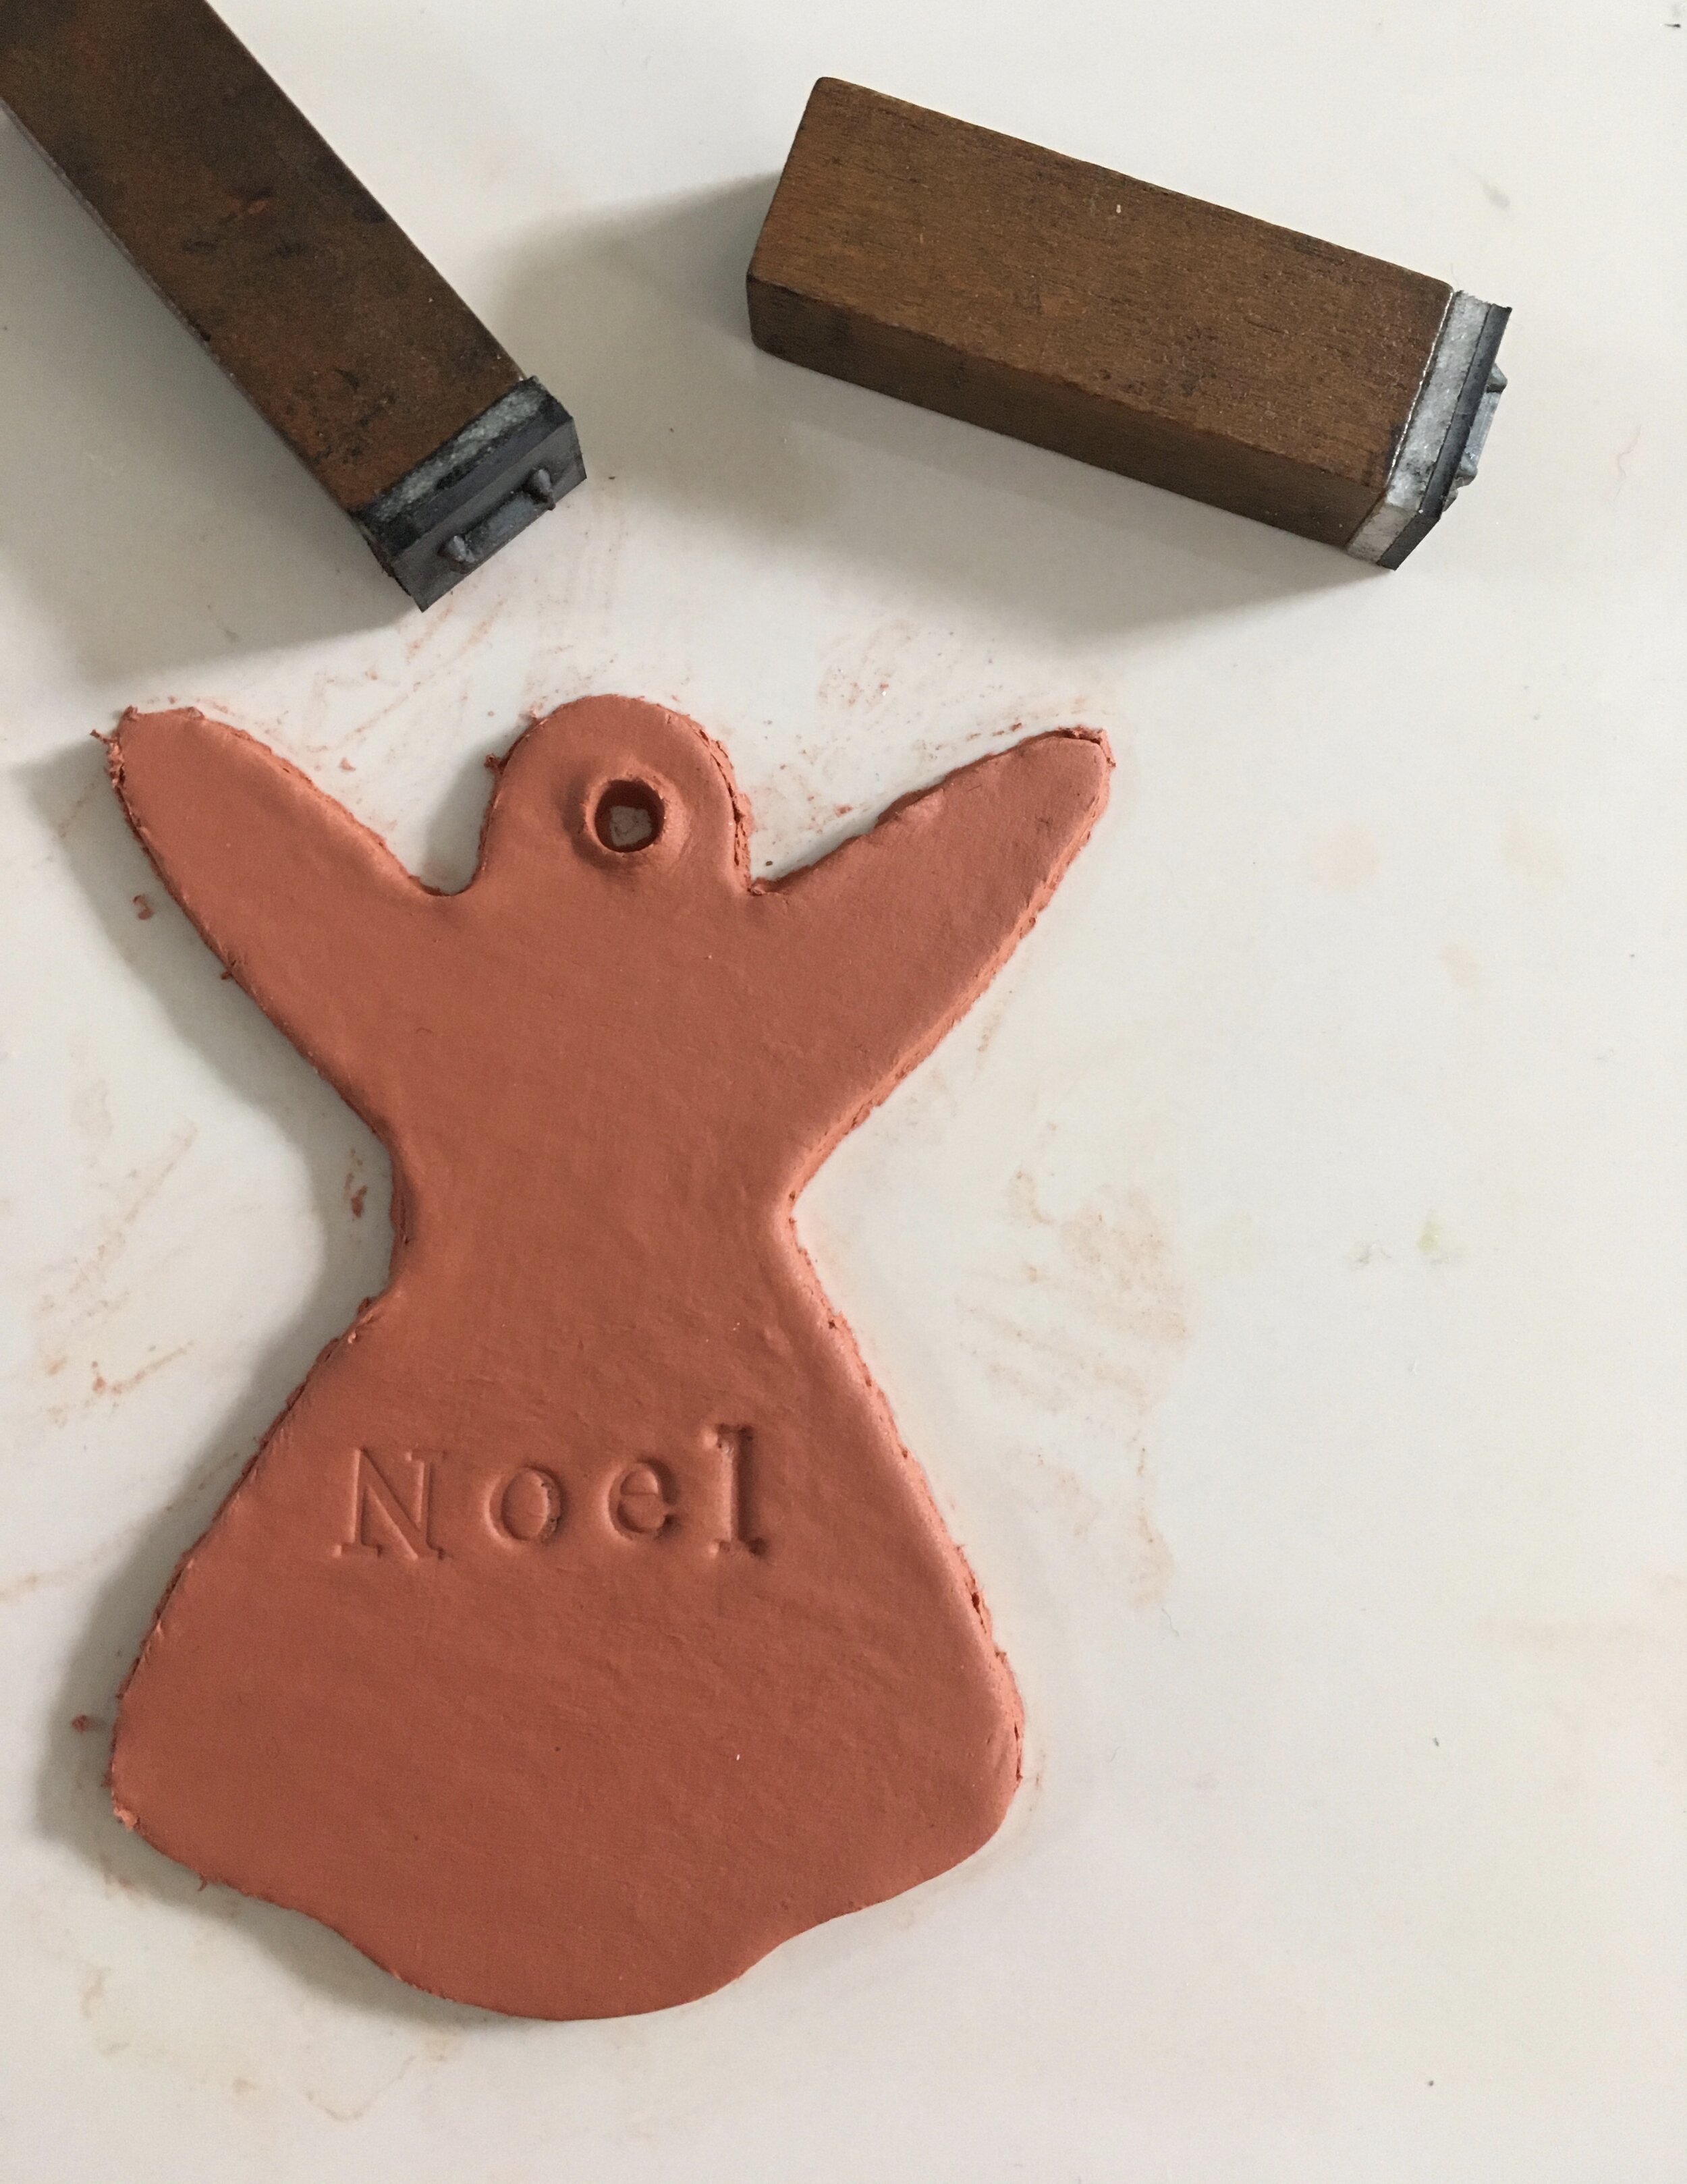
Next, use your cookie cutters to shape.

Take the letter stamps and press out your chosen names or words gently, being careful not to press too hard and distort the shape. Make a hole at the top of the tag near the top, using the knitting needle. This will be where the ribbon is threaded later, so position accordingly.
Place the tags (on the ceramic tile) in the centre of the oven and bake for the advised time. Allow the tags to cool. Paint a thin layer of acrylic paint and allow to dry.
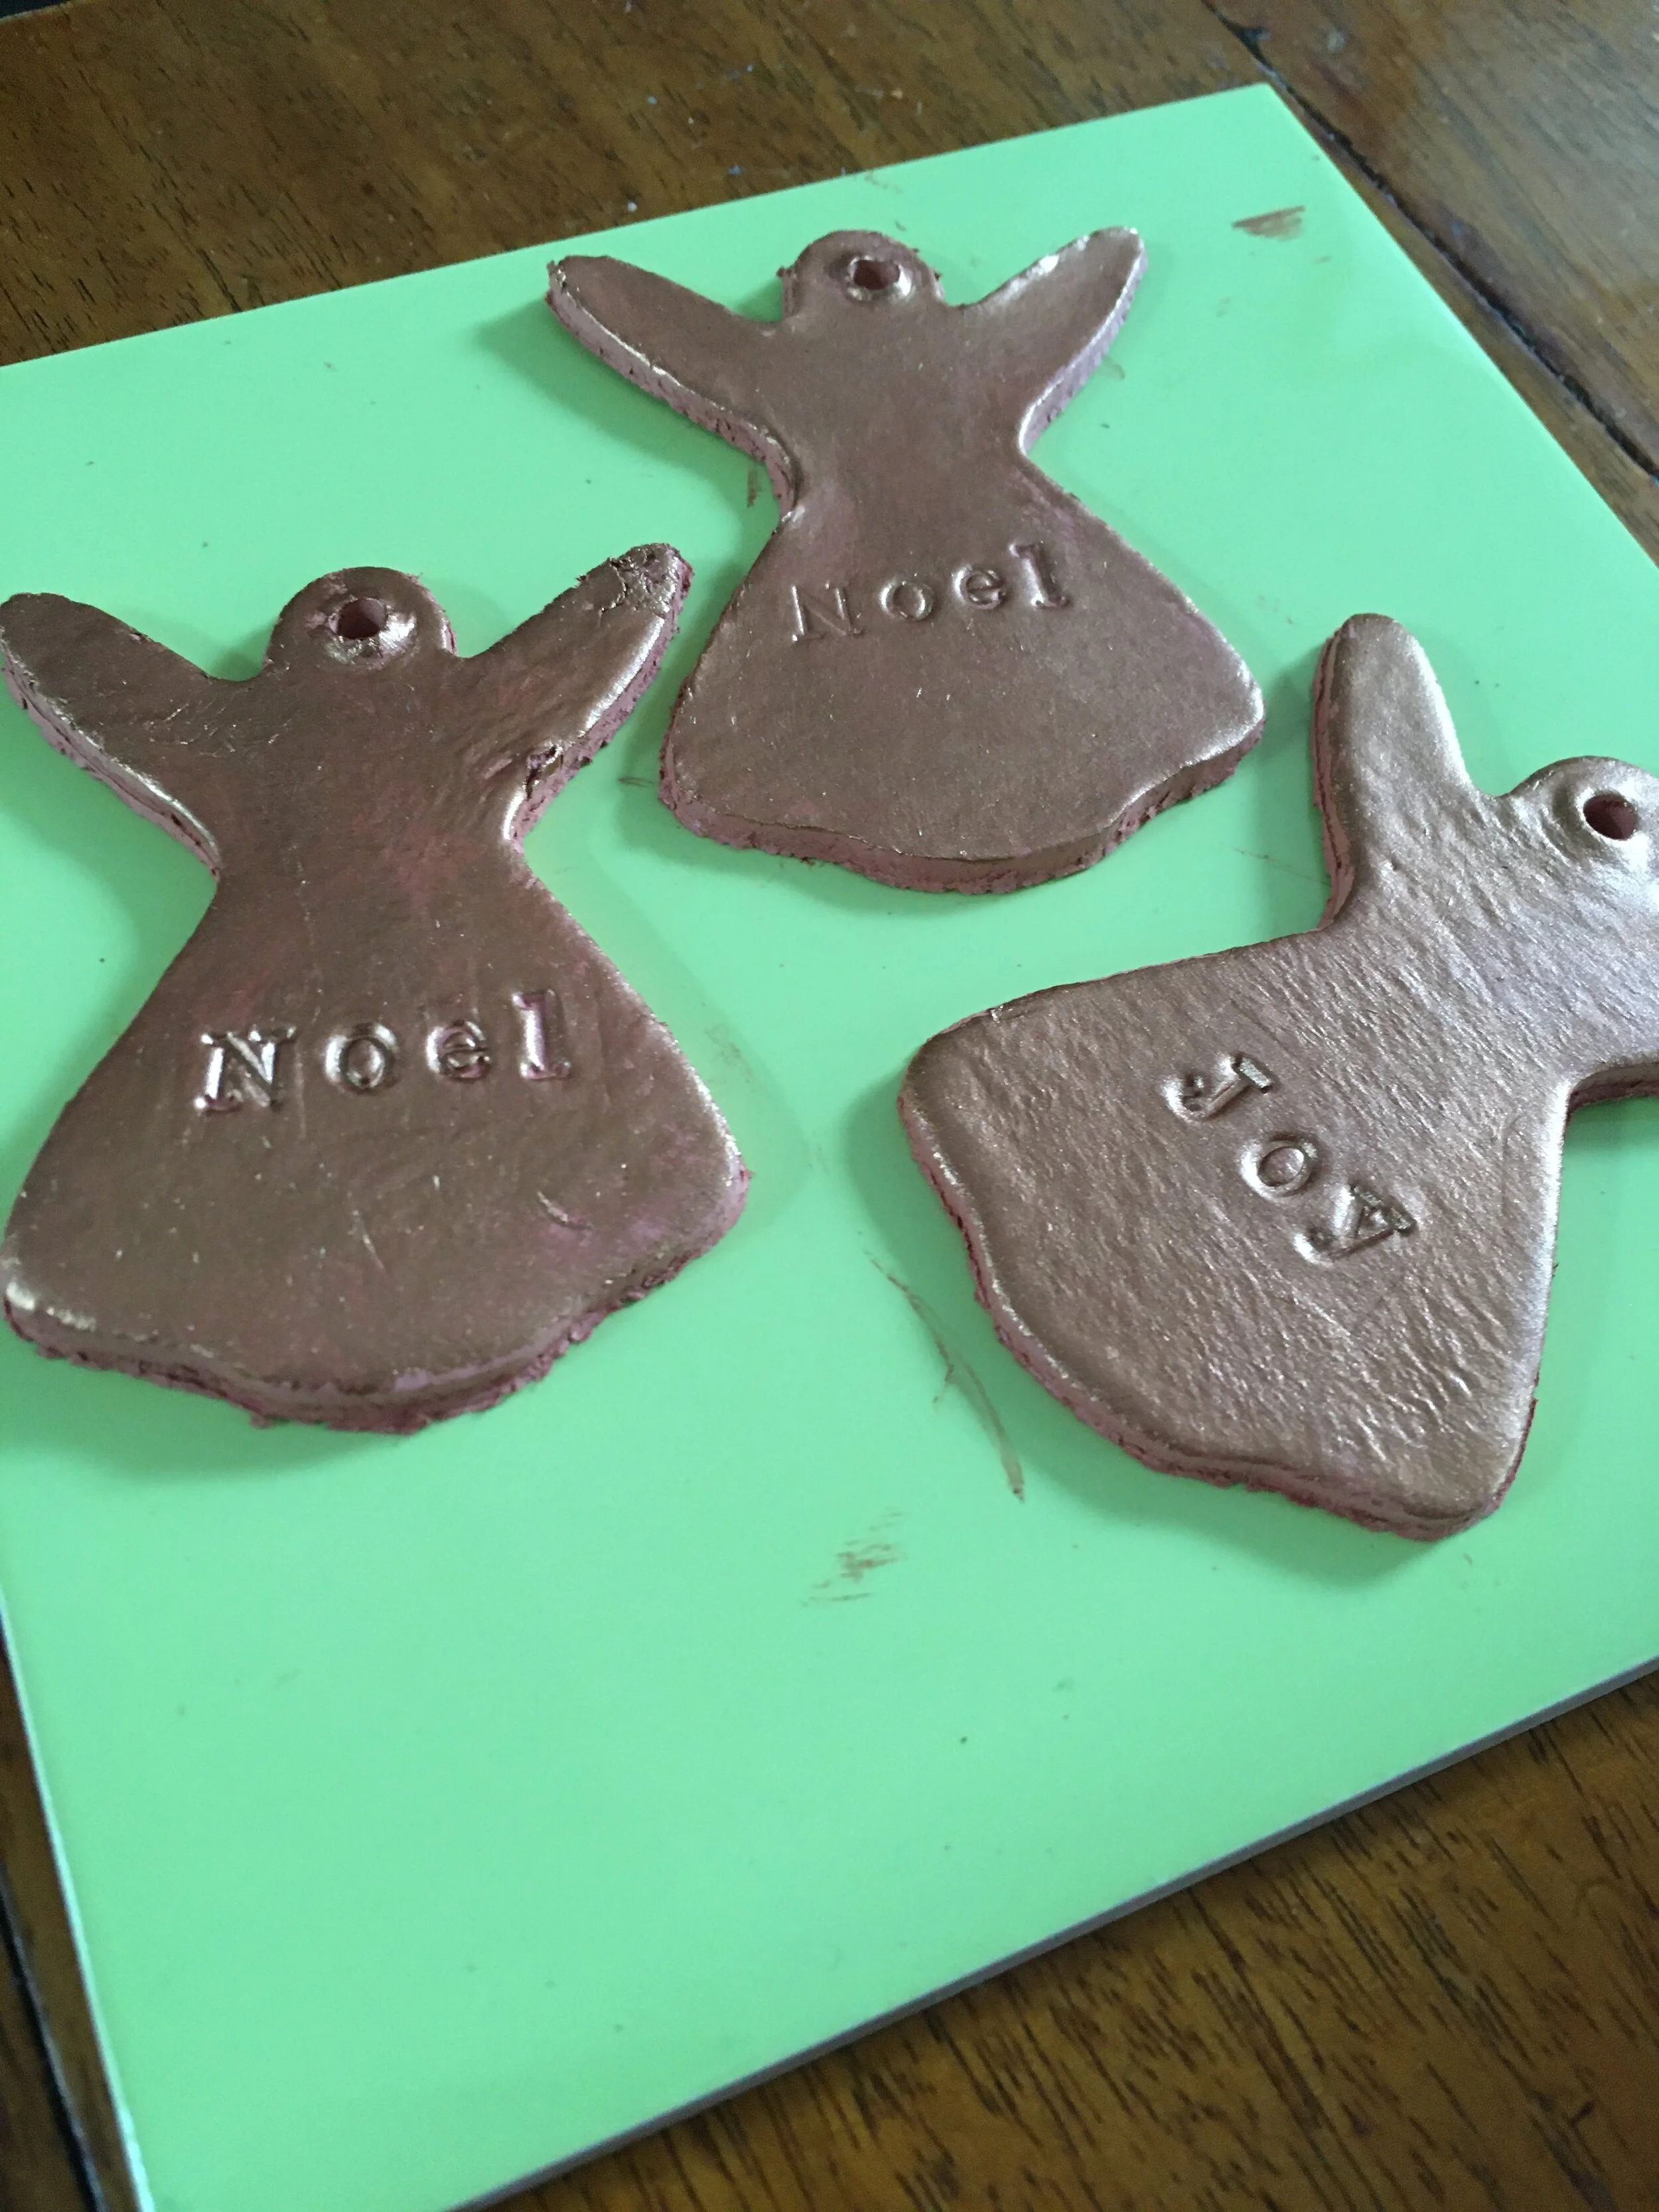
Take the wire brush (alternatively use a damp scourer/rag) and rub off most of the paint, leaving a distressed look.
Thread the ribbon through and admire your finished tags!