Upholstering a piano stool
A recent project took me a bit out of my comfort zone as I returned to my love of upholstery! Although I am by no means a trained upholsterer, as soon as you mention to people that you know that you’ve done a few upholstery courses they suddenly start saying “Ooo, I’ve been meaning to get such and such upholstered…”!!!
As it turns out, one such conversation led to me upholstering a piano stool which belongs to a friend at work. This lovely piano stool has seen many generations of the family learn to play the piano so needed a little bit of TLC but also was a big responsibility not to get it wrong!
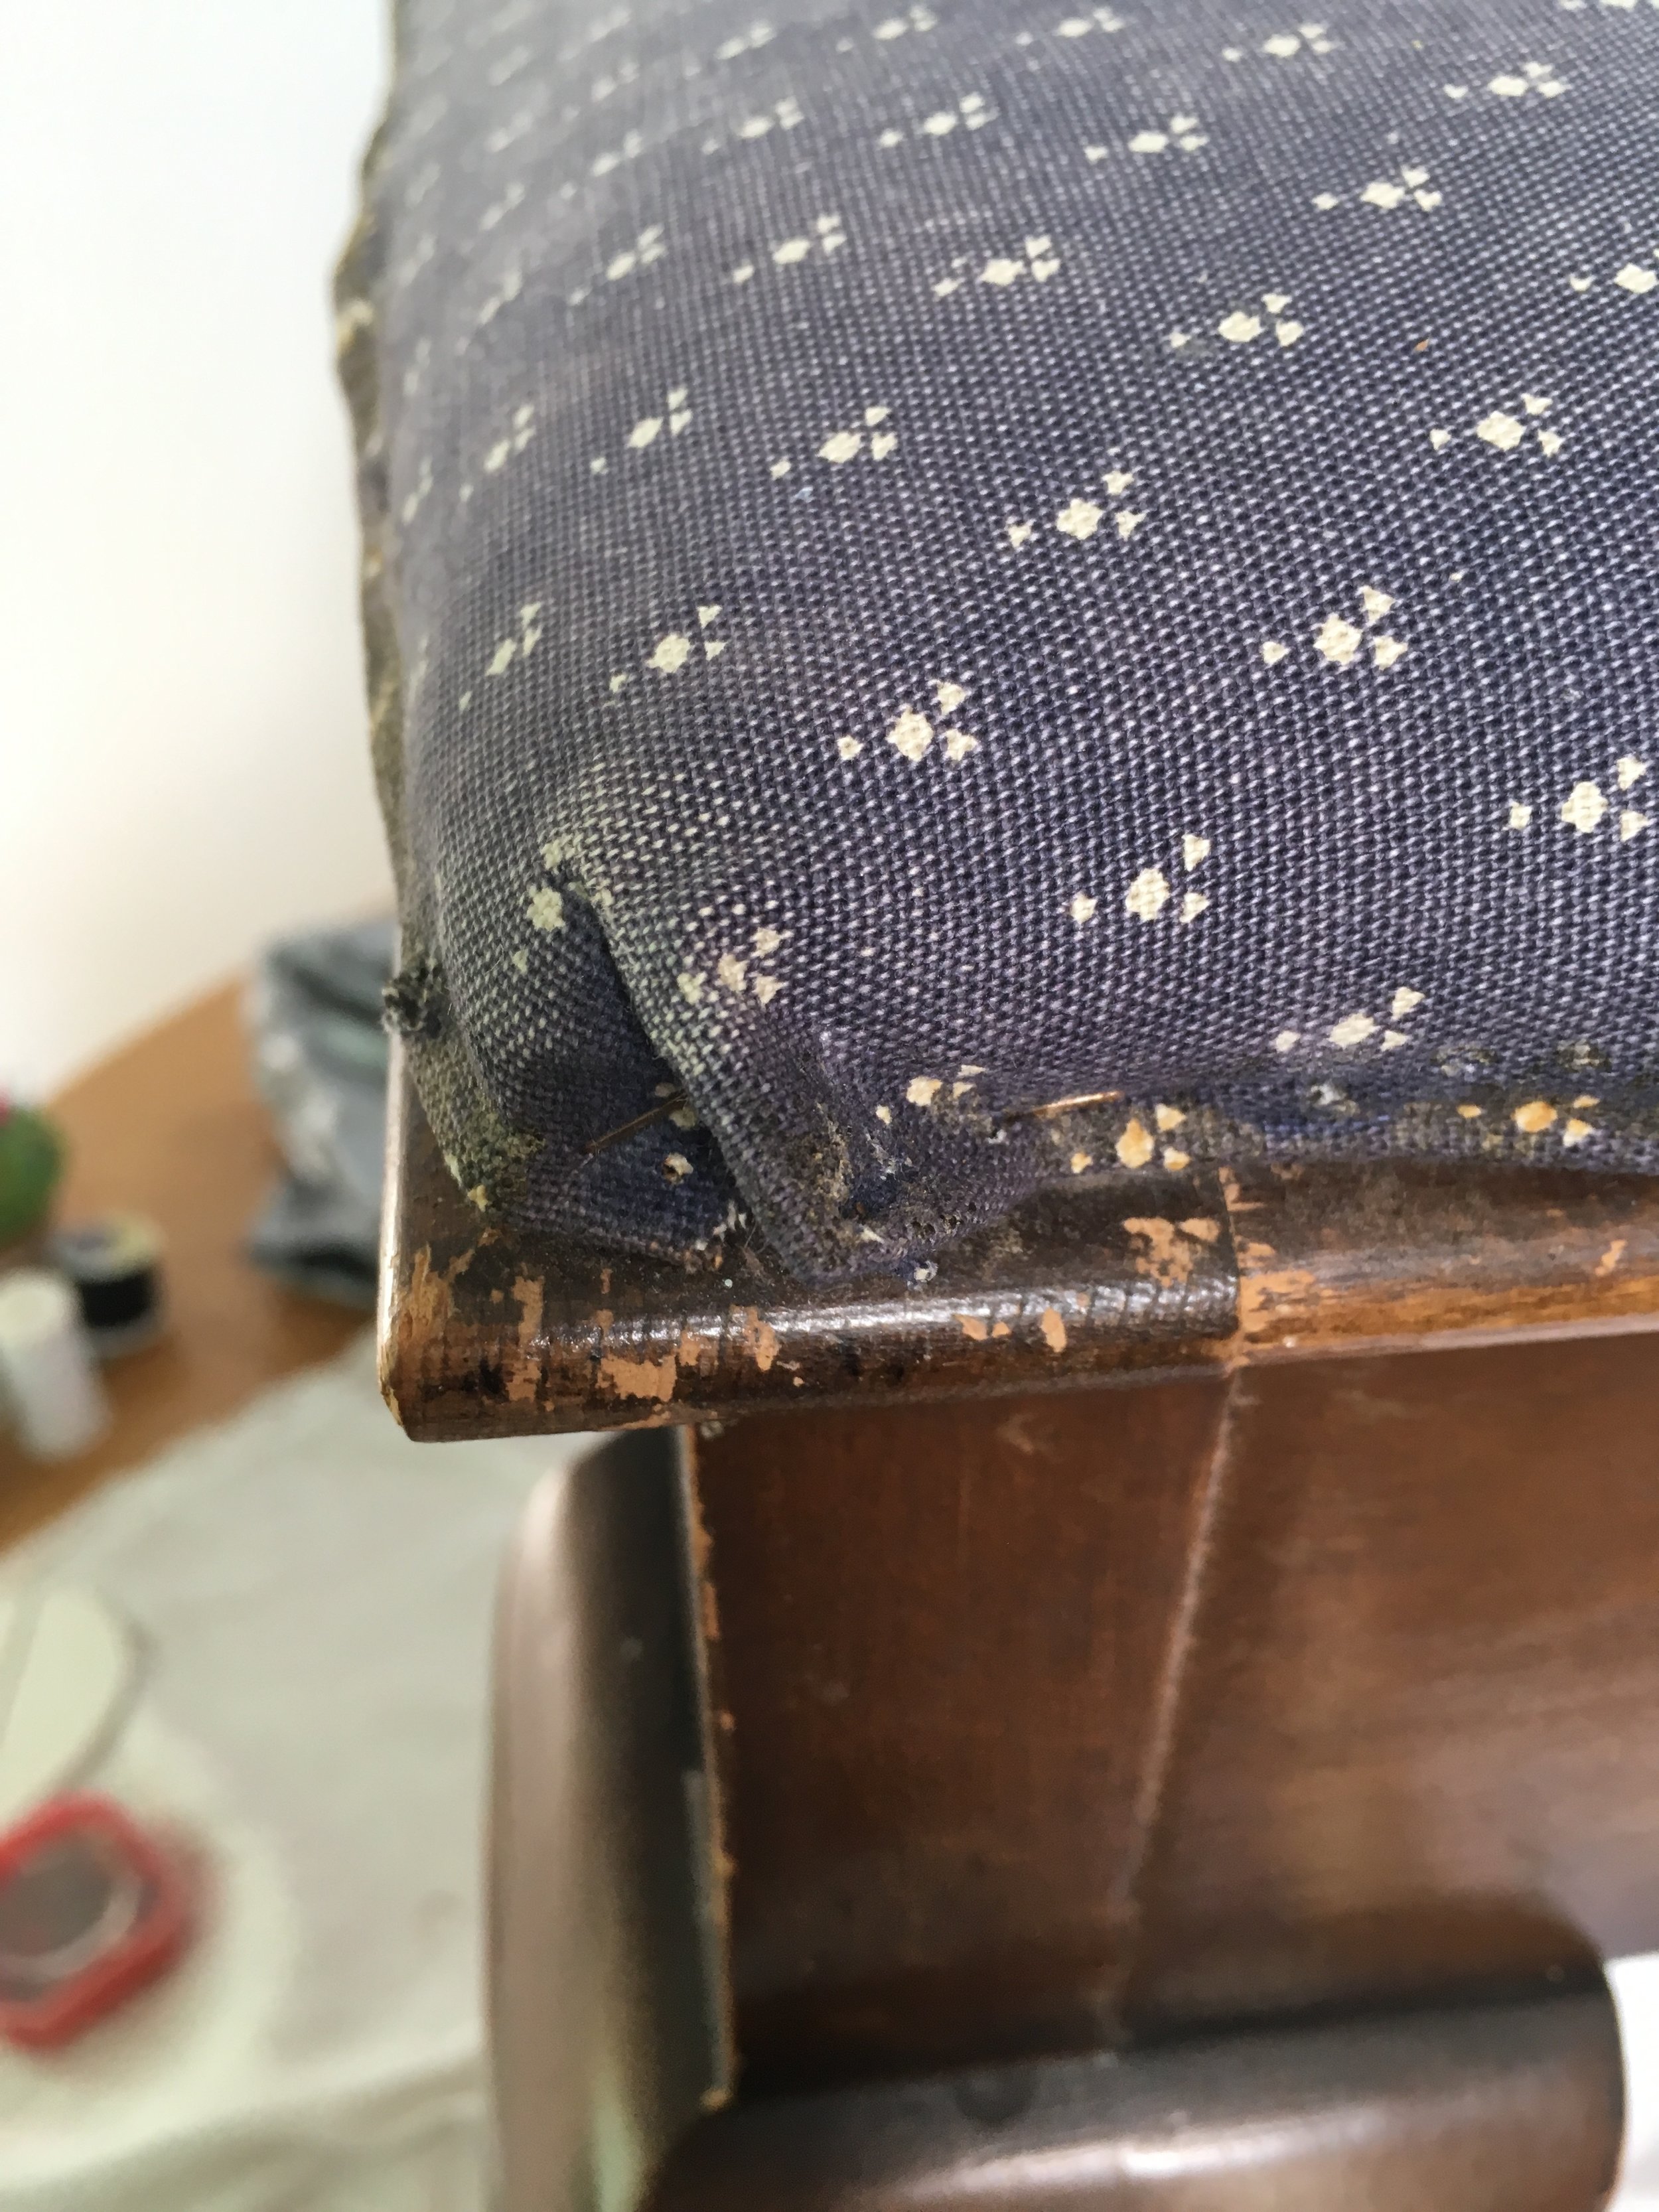
I started by stripping back the old material. It’s important to note that when you’re upholstering a piano stool, it’s best to either reuse or try and recreate the same level of padding that you had originally otherwise you may not be able to play the piano as a result!! I used a staple remover tool to remove the existing staples and to reveal the padding underneath.


Therefore, I kept the original padding which was in good condition and would keep the piano stool at the same height. After removing all of the fabric, I positioned and measured the gorgeous upholstery fabric that had been provided and trimmed to size.

Positioning & cutting the fabric to size
I then fixed the fabric in place with a few staples using my fancy new staple gun (too much fun), ensuring that I had stretched the fabric across the top. It’s important to stretch the fabric as, over time, it will have a tendency to sag or loosen which is why it’s important to keep it tight.
Then I followed up to complete all the staples around the outside. At the corners, I folded one side in, and then the other over the top. Once I’d done this, it was clear where the additional fabric underneath was sitting, which was bulking out the corners. So, I trimmed back this fabric bit by bit, to be able to deliver a smooth finish around the corners. I used tacks to hold in the corners, rather than staples.

Trying to keep the corners as clean as possible
Once complete, and all of the fabric was secure, I wanted to finish the look by adding a trim. I chose a complementary cream to tone with the grey fabric. Using my new glue gun, I fixed the trim around the edge to secure in place.
It was such a lovely project that really made me want to do more upholstery!

The final result!